Do you love the spongy cheese cake and soft in the Japanese style? 🥮 With your Thermomix, you can prepare it at home in a easily and with incredible results. 🌟
This recipe is perfect to surprise your guests or simply to give you a sweet whim. Follow these steps and enjoy a light, spongy and delicious cheese cake! 🧀✨
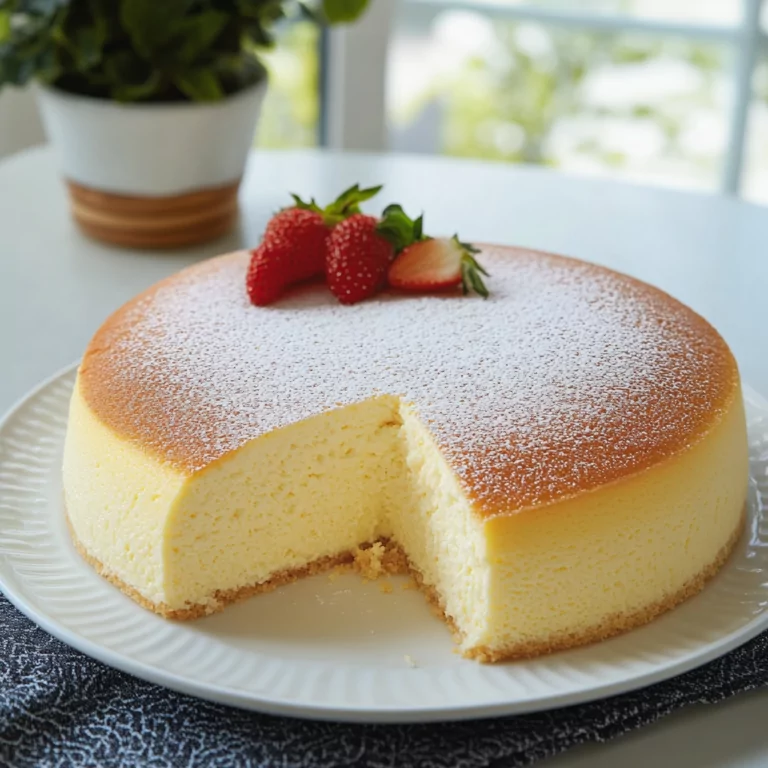
Japanese cheese cake with Thermomix
People
6
Cooking time:
30 minutes
Total time
30 minutes
Kitchen
Themomix
Category:
Desserts with Thermomix without category
Japanese cheese cake ingredients with Thermomix
- 🥚 6 eggs (separate yolks and clear)
- 🧀 250 g of cheese to spread (Philadelphia type)
- 🧈 50 g of butter (at room temperature)
- 🥛 100 g of milk
- 🌾 60 g of flour
- 🌽 60 g of cornstarch
- 🍋 1 tablespoon of lemon juice
- 🧂 1 pinch of salt
- 🍚 140 g of sugar
- ⚪ 1 on gasifying (or 1 teaspoon of cremor tartar)
- ❄️ Glass sugar (to decorate)
Preparation of Japanese cheese cake with Thermomix
- 1️⃣ Preheat the oven to 160ºC, with heat up and down. Place a container with water in the oven to create a water bath.
- 2️⃣ Gate the mold with butter or oil so that the cake does not stick.
- 3️⃣ separates the whites from the yolks in clean and dry bowls. Booking.
- 4️⃣ Mounted the butterfly in the Thermomix vessel. Add the cheese, butter and milk. 5 minutes program, speed 3.
- 5️⃣ Remove the butterfly. Add flour, cornstarch, yolks, lemon juice and pinch of salt. Program 2 minutes, speed 3. Reserve the mixture in a bowl.
- 6️⃣ Wash and dry the glass. Retur the butterfly and beat the whites at 1½ (without time) speed until they start foaming. Add the gasifier and sugar little by little. Keep beating until the whites are firm (when they turn a spoon, they should not fall).
- 7️⃣ Incorporates the whites to the cheese mixture with enveloping movements, using a spatula.
- 8️⃣ Pour the mixture into the prepared mold.
- 9️⃣ Bake in the water bath for 55 minutes.
- 🔟 Turn off the oven and leave the cake inside for 5 more minutes.
- 1️⃣1️⃣ Take out the oven cake and unmold when it is cold.
- 🎉 Decorate with Glass sugar using a strainer. And enjoy! 🍴
Frequent questions ❓
- 1️⃣ Can I replace cornstarch flour?
- Yes, you can use only common flour, but cornstarch helps to give that soft and spongy texture typical of the Japanese cake.
- 2️⃣ Can it be done without Thermomix?
- Clear! You can beat the whites by hand or with an electric blender and mix the ingredients manually.
- 3️⃣ How to keep the cake?
- Guard it in the fridge, covered with transparent film, up to 3 days.
Extra tips 💡
- 🕒 Prepare the cake with time, since you need to cool well before unmolding.
- 🍓 Accompany with fresh fruits such as strawberries or raspberries for an extra touch.
- 🎂 If you like sweeter, add a little more glasses when serving.
Related posts:
 Japanese cheese cake with thermomix
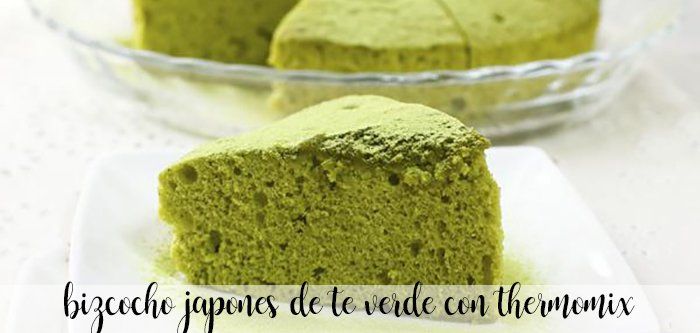 Japanese green tea cake with Thermomix
 Dorayakis Japanese creps with thermomix
 Japanese Miso Soup with Thermomix
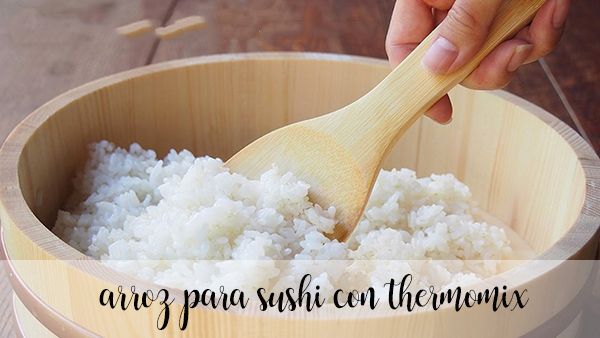 Japanese sushi rice with Thermomix
 Gyozas, Japanese dumplings Thermomix
 Japanese meatballs with Thermomix
 Japanese soba noodles with thermomix
 Japanese bread with Thermomix
 Japanese Dashi broth with thermomix
 Japanese mayonnaise – Kewpie with thermomix
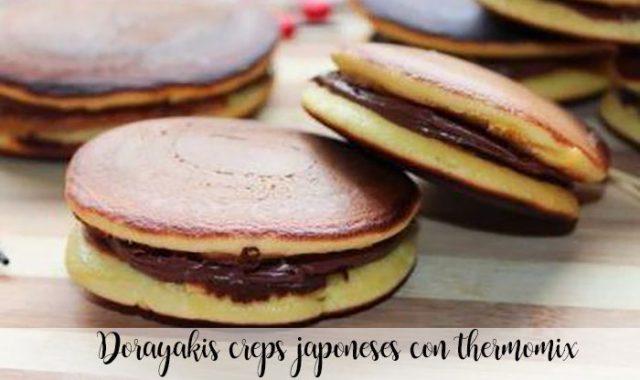 Dorayakis japanese pancakes with thermomix
 Japanese Miso Soup with Thermomix
 Japanese cheesecake with thermomix
 Japanese ramen with thermomix