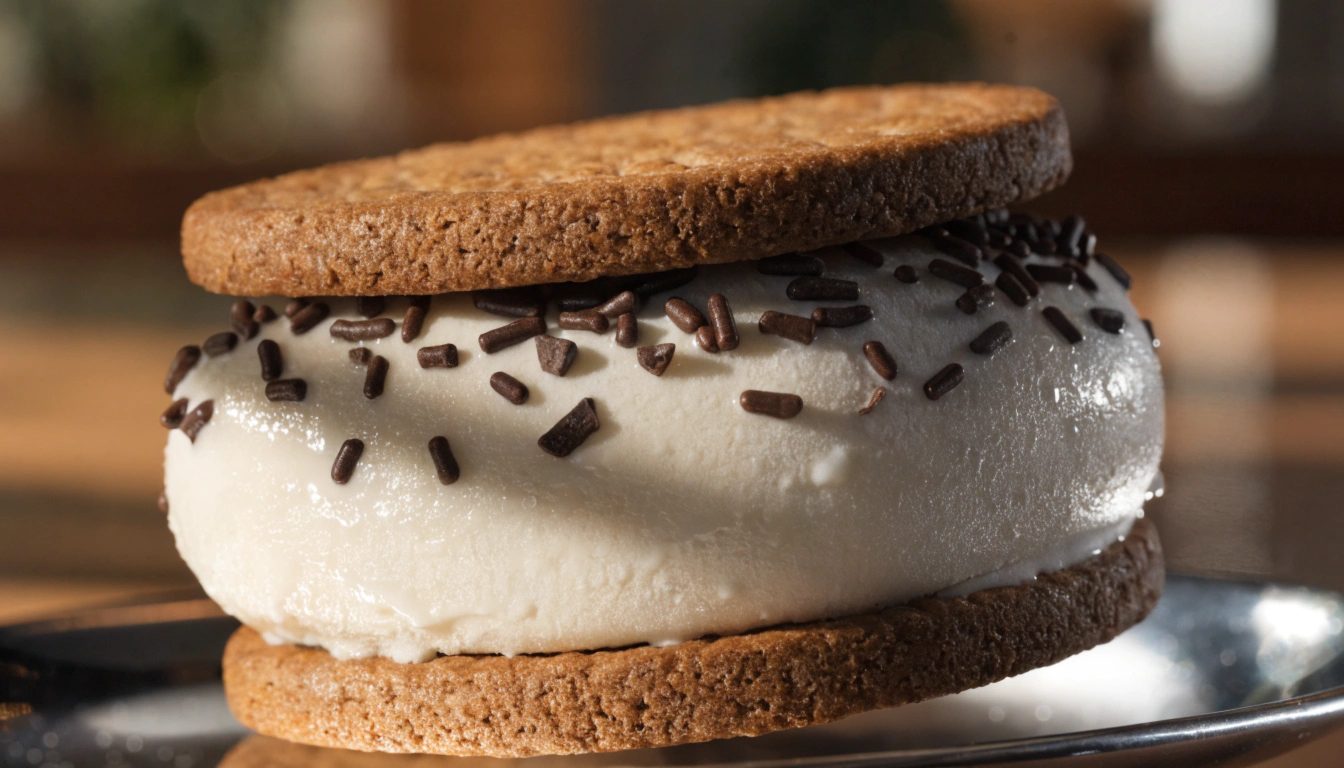
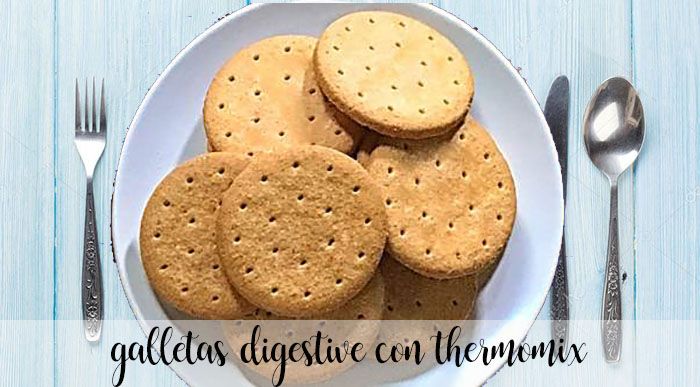
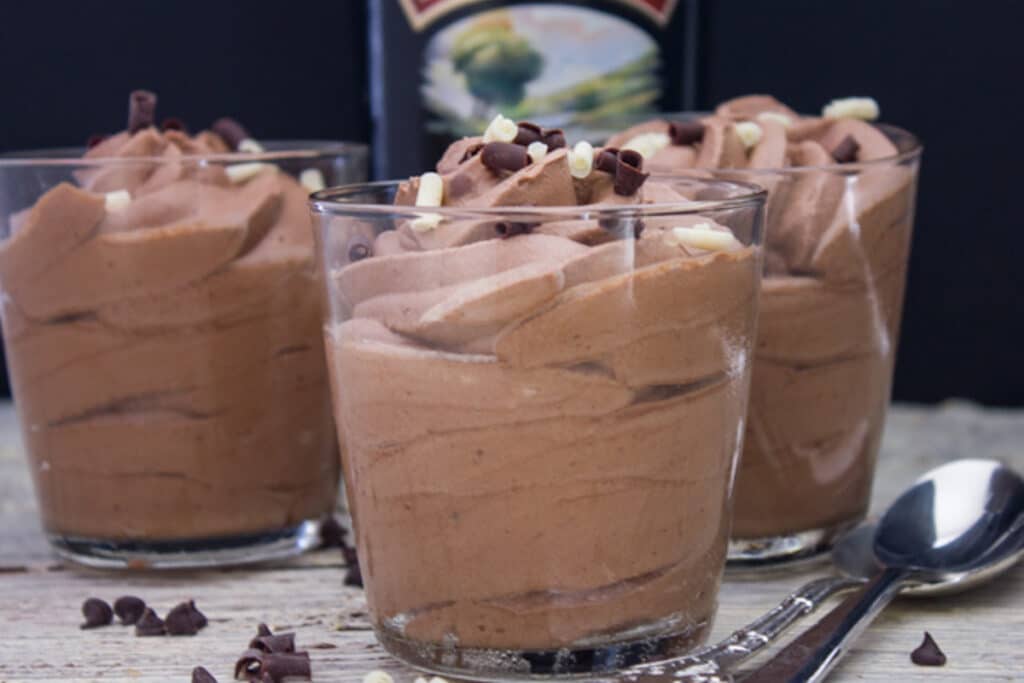
Cream ice cream with digestive biscuits in Thermomix: The infallible guide for a perfect cut
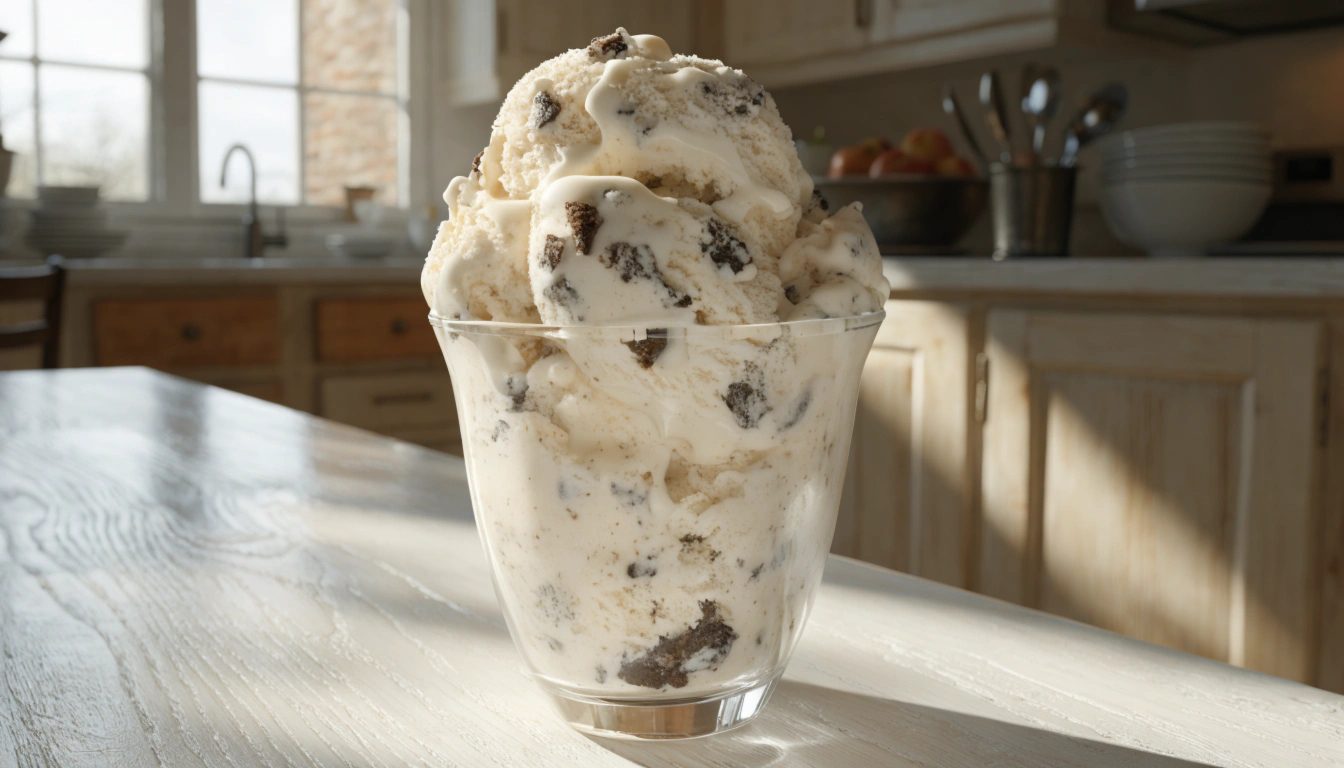
Who can resist the temptation of a creamy ice cream sandwich on hot days? Prepare an authentic cream ice cream with digestive biscuits in Thermomix It is the best way to ensure resounding success at your table.
Furthermore, achieving that coveted commercial texture but using 100% natural ingredients is no longer a secret kept under lock and key. The magic of precise emulsion offered by our food processor transforms simple components into a true work of culinary art.
Therefore, if you follow this technical manual step by step, you will master the mysteries of the physics of ice cream and dairy products applied to cutting-edge home baking. Get ready to discover how air and fat combine to create a smooth, silky and irresistible molecular structure.
Cream ice cream with digestive biscuits in Thermomix
Why cream ice cream with digestive biscuits in Thermomix is the dessert of the year
Firstly, the search for home baking options with full control of added sugars has grown exponentially on social networks. This wonderful cream ice cream with digestive biscuits in Thermomix has become the absolute king of visual platforms thanks to its unbeatable vintage aesthetic.
However, the real reason for its massive success lies in the factor of smart savings and domestic sustainability. Creating your own cuts of ice cream reduces single-use plastic packaging and avoids the consumption of unnecessary artificial preservatives.
Therefore, this recipe adapts perfectly to the global trend of real fooding adapted, where we prioritize the quality of the raw material. A combination that is crunchy on the outside and heavenly soft on the inside that conquers both children and the most gourmet palates.
The “Digital Chef”: Tricks for perfection with your Thermomix
To ensure that the filling does not crystallize and maintains a professional smoothness, the fundamental secret is in the correct assembly of the egg whites. The glass must be completely degreased and dry before inserting the butterflies, as any residue would ruin the volume.
In addition, the whipping cream must have a minimum of 35% fat and be extremely cold, preferably resting in the freezer for about ten minutes beforehand. Controlling the progressive speed will prevent you from going past the optimal point and ending up making butter by accident.
However, if you want to elevate this experience to the next level of sophistication, you can pair this dish with our acclaimed complementary Salted Caramel Sauce recipe found on our main menu. A fluid touch that will enhance the toasted nuances of the selected cookie.
Selected ingredients and smart variations
Below we detail the exact ingredients calculated down to the millimeter to obtain optimal performance from eight individual standard-sized units:
- 🥛 250 ml whipping cream (minimum 35% fat, very cold).
- 🍪 16 round cookies (traditional Digestive type).
- 🥚 2 egg whites Very fresh and at room temperature.
- 🍬 75g sugar whitewash or icing sugar.
- 🥃 Rum aroma (a few concentrated drops to provide depth).
- 🍫 dark chocolate drops (minimum 70% cocoa for contrast).
- 🥛 whole milk (a small amount intended for brushing).
Smart Gluten Free Variation: You can replace traditional cookies with certified gluten-free versions. Gluten-free rice or oatmeal digestive biscuits maintain the perfect structural consistency without altering the final moistening time at all.
Low-Carb Option (Keto-Friendly): Change regular sugar for powdered erythritol in the same proportion and use almond flour cookies. This way you will get a low glycemic index dessert ideal for well-formulated ketogenic diets.
Step by step with visual preparation blocks
Step 1: The Base Firm Meringue
Place the butterfly on the clean blades. Introduce the 2 egg whites along with the 75 grams of sugar into the glass. Program during 4-5 minutes at speed 3-4 until you obtain a firm, shiny and foamy meringue. Remove from the glass and reserve in a large bowl.
Step 2: Assembling the Stabilized Cream
Wash and dry the glass and butterfly thoroughly. Pour the 250 ml of very cold cream. Schedule an estimated time of 2-3 minutes at speed 3-4 (progressive speed). Constantly watch through the mouth to stop the engine exactly when it is firm.
Step 3: Integration and Flavor Nuances
Add the reserved meringue to the glass with the whipped cream. Add the drops of rum aroma and the dark chocolate chips. Mix programming 10 seconds at speed 1-2 with left turnor finish it gently with the spatula using enveloping movements.
Step 4: Molding and First Cold Shot
Pour the mixture into low round molds (you can use individual aluminum molds). Place the molds in the freezer for a minimum space of 2 hours so that the structure gels properly before proceeding to final assembly.
Step 5: Assembling the Ice Cream Sandwich
Place 8 cookies on a tray and brush them lightly with milk. Unmold the hard ice cream discs and place them on top. Cover with the other 8 cookies, pressing gently. Brush the top outside with milk and freeze until ready to serve.
“Scan-and-Cook” programming table
| Process Phase | Time | Temperature | Speed | Accessory |
|---|---|---|---|---|
| Assemble Claras | 4-5 min | No temperature | Speed 3.5 | Butterfly |
| Whip Cream | 2-3 min | No temperature | Speed 3 (Prog.) | Butterfly |
| Final Mix | 10 sec | No temperature | Speed 1.5 | Reverse Spin |
Questions People Really Ask (PAA)
How to prevent digestive biscuits from breaking when biting into ice cream?
The professional trick lies in the subtle brushing step with whole milk or light liquor. This provides just enough moisture so that the cookie maintains its consistency in the freezer but cuts cleanly without breaking when you bite.
Can I replace the rum aroma with another ingredient?
Of course. If you prefer an alcohol-free version, you can use a good quality Madagascar vanilla extract or a teaspoon of pure cocoa paste to give a spectacular aromatic note.
How long does this homemade ice cream last in the freezer?
When stored in a well-sealed airtight container to avoid freezer odors, it maintains its optimal qualities for a maximum period of fifteen days. From there, it may start to lose the crunchy texture of the base.
Is it mandatory to use the butterfly to whip the cream?
Yes, the butterfly is an essential accessory to introduce the necessary amount of air into dairy fats. Without it, the blades would cut the structure and cause the serum to separate irreparably.
Can the recipe be made using plant-based cream?
Indeed, vegetable pastry cream works very well and usually has great stability. Make sure it is very cold before starting the blending process inside your robot’s glass.
You may also be interested…
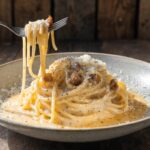
Carbonara Sauce with Thermomix: Original and Creamy Recipe
Carbonara sauce with Thermomix: The definitive recipe If you are looking for a carbonara sauce with Thermomix that is quick and keeps everything…
Read more…
aioli sauce with the Thermomix
In this article, I will take you through the delicious aioli recipe with Thermomix, a kitchen classic…
Read more…
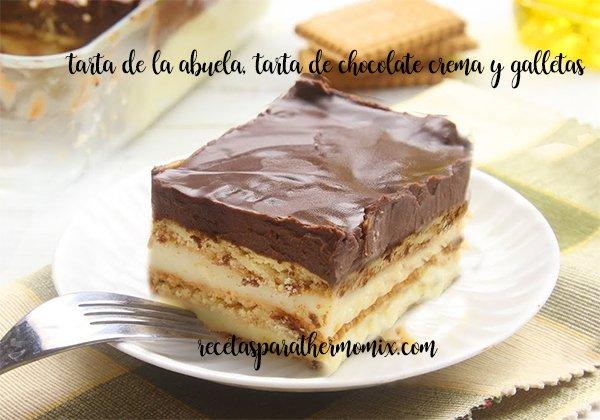
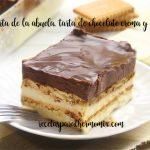
Chocolate and cookie cake, grandma’s cake with thermomix
In the world of baking, some recipes never go out of style, and the Chocolate and Cookie Cake, too…
Read more…

Curry chicken with Thermomix
Do you like very spicy foods or foods that have deeply flavored spices? If the answer is yes, you are interested…
Read more…
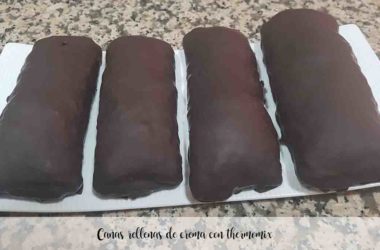
Canes filled with cream with thermomix
Today we bring another recipe from our friend Luz Maria Lagoa Vives. Today I’m sharing a recipe for canes stuffed with…
Read more…
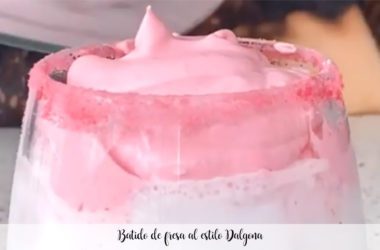
Dalgona-style strawberry smoothie
A while ago, dalgona coffee became extremely fashionable due to the foam we could get with…
Read more…

facebook group
Join our facebook group
New recipes commented with thousands of users
New recipes commented with thousands of users

NOTE: INTERESTING RECIPES FOR THIS NEW YEAR… I’m sure you are also interested in these recipes.
-

40 thermomix recipes to lose weight
-

20 DETOX drinks with thermomix to improve your health
-

75 Easy Recipes with Thermomix
-

60 best desserts with thermomix
-
20 cakes with thermomix
-

20 tricks with thermomix
-

100 breakfasts with thermomix
-

300 recipes for times of crisis with thermomix
-

100 recipes for summer with thermomix
-
25 recipes with zucchini with thermomix
-

75 light dinners with Thermomix
-
Carbonara Sauce with Thermomix: Original and Creamy Recipe
-

Stuffed mussels or tigers with thermomix
-
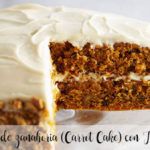
Carrot Cake (Carrot Cake) with Thermomix
-
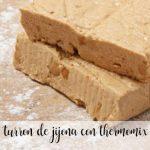
Jijona nougat with Thermomix
-
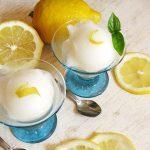
Lemon sorbet with the Thermomix
Related posts:
 Digestive biscuits with thermomix
 Digestive biscuits with thermomix
 Cookies&cream ice cream version of Häagen-Dazs with your thermomix
 Dog biscuits with Thermomix
 Cat biscuits with Thermomix
 Thermomix ladyfingers biscuits
 protein biscuits for dogs with thermomix
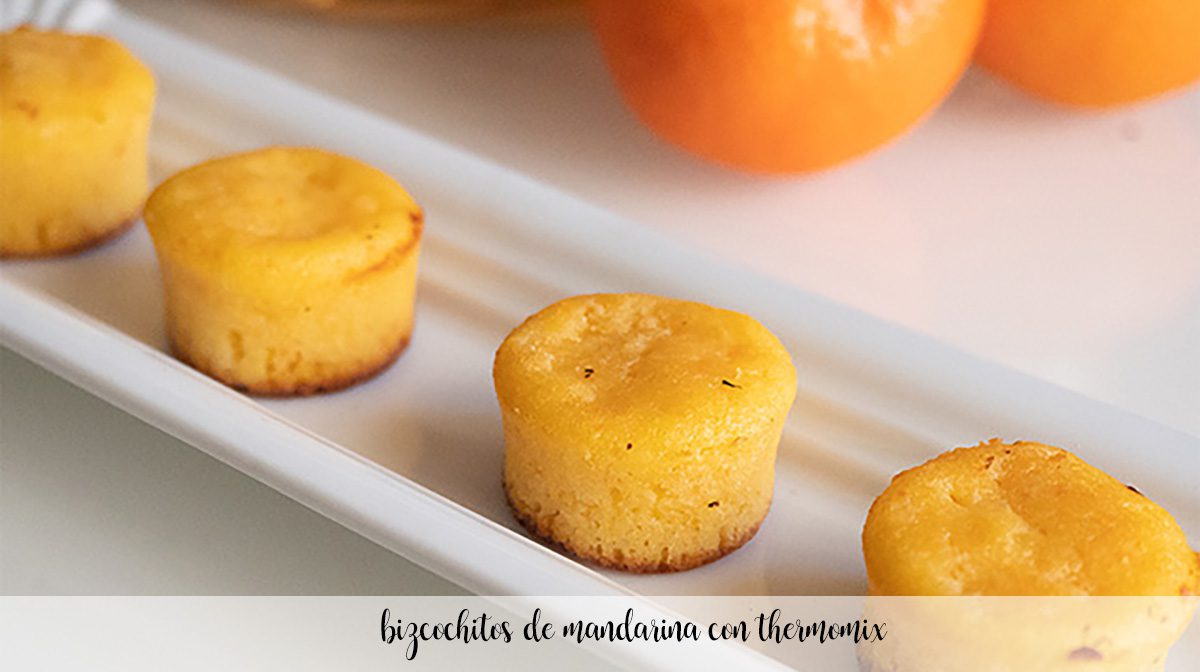 Mandarin biscuits with thermomix
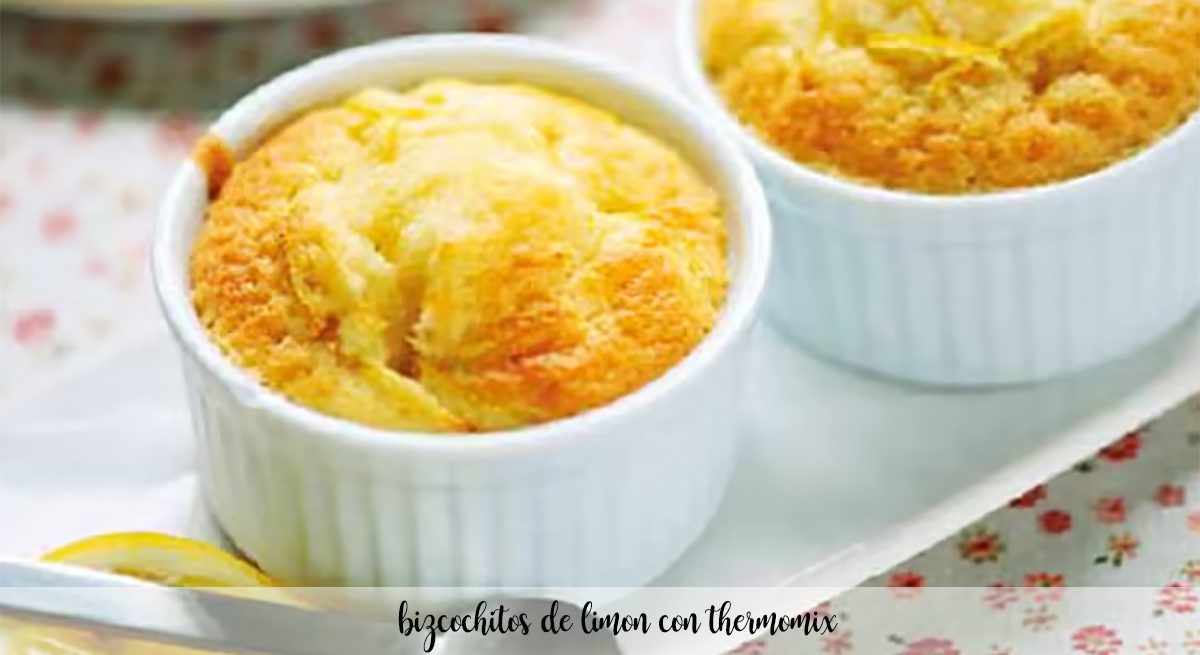 Lemon biscuits with thermomix
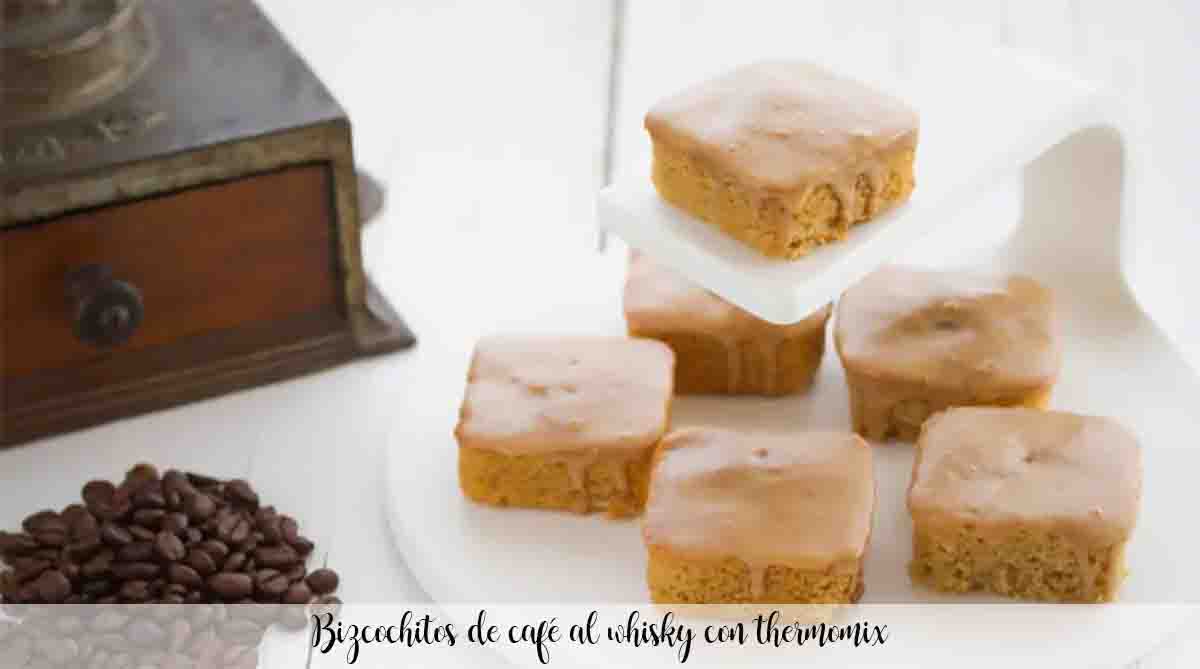 Whiskey coffee biscuits with thermomix
 Wholemeal spelled biscuits with chocolate chips with thermomix
 Thermomix Merceditas Biscuits
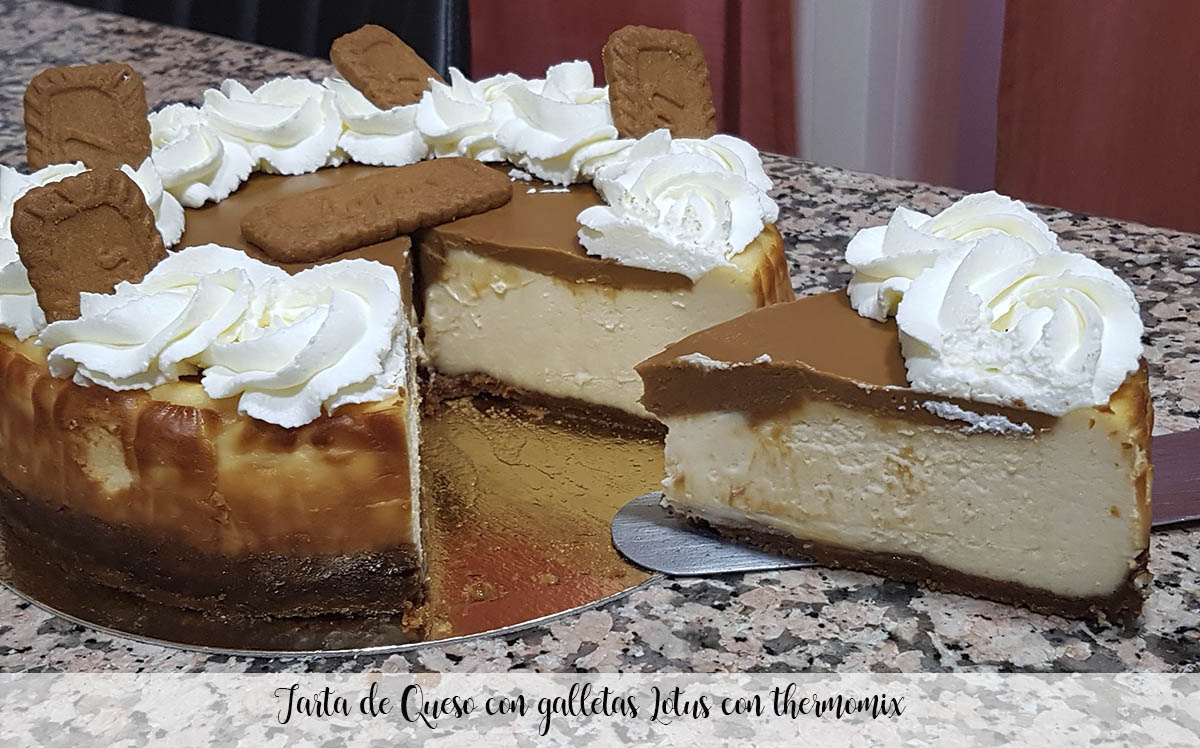 Cheesecake with Lotus biscuits with thermomix
 Irresistible banana biscuits in air fryer – Air Fryer
 Mocacino ice cream with Baileys in Thermomix