Coffee ice cream in Thermomix: The definitive guide to an ultra creamy and foolproof texture
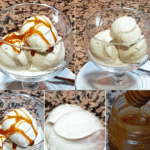
Prepare an authentic coffee ice cream in Thermomix It is the perfect solution for lovers of good coffee who are looking for a refreshing, sophisticated dessert with a commercial texture but without artificial additives.
Furthermore, many people suffer when trying to make homemade ice cream because they tend to crystallize in the freezer, turning into blocks of ice that are impossible to serve with a conventional spoon.
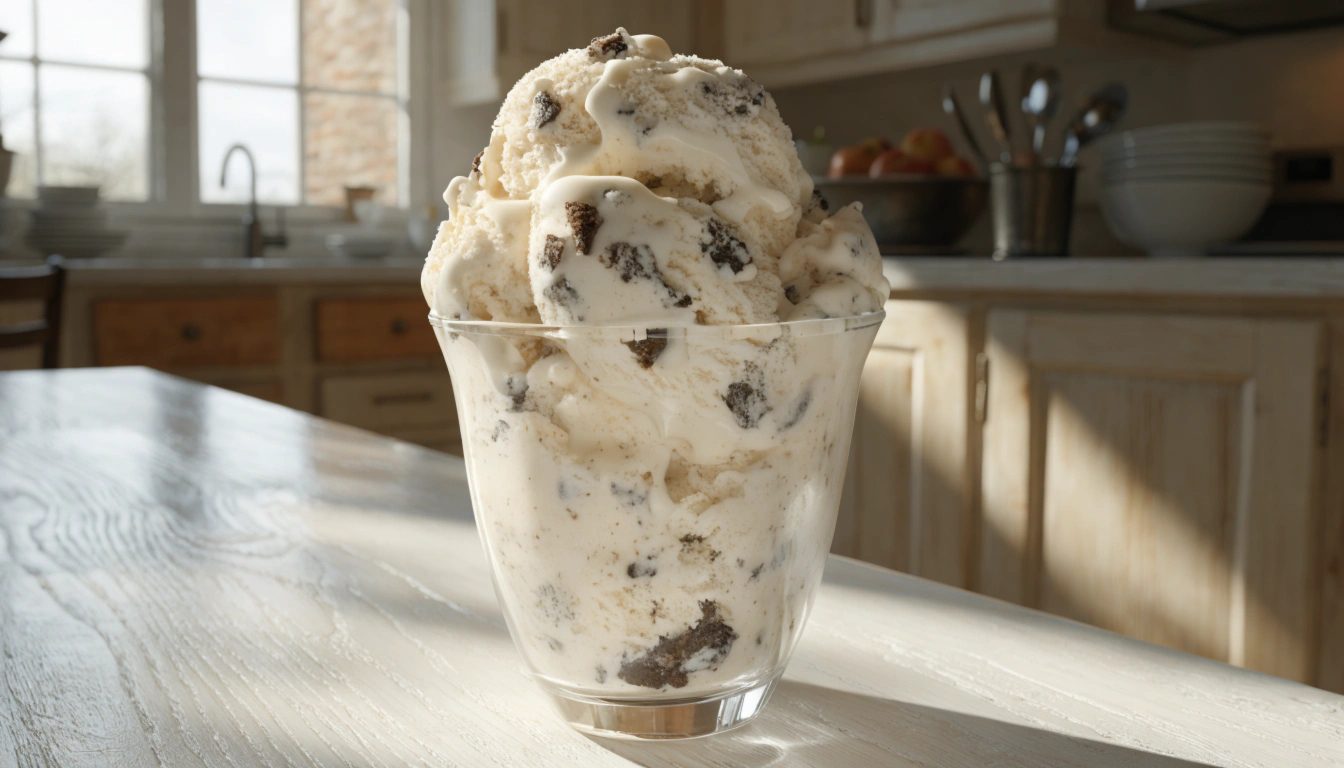
Consequently, the constant agitation of the blades of our food processor breaks those annoying crystals, guaranteeing a smoothness identical to that of the best Italian ice cream parlors.
In this article you will learn the exact method to emulsify dairy fats with caffeine, achieving a perfect balance of flavor that will surprise all your guests at the table.
According to the principles of molecular gastronomy, the key to creaminess lies in the correct dissolution of the sugar crystals and the homogeneous suspension of the milk fat matter.
However, thanks to your robot’s technology, you don’t need to be a culinary scientist or own a professional butter maker to master this art in your own kitchen.
Therefore, get ready to discover a recipe that will become the sweet pillar of your home during the months of intense heat.
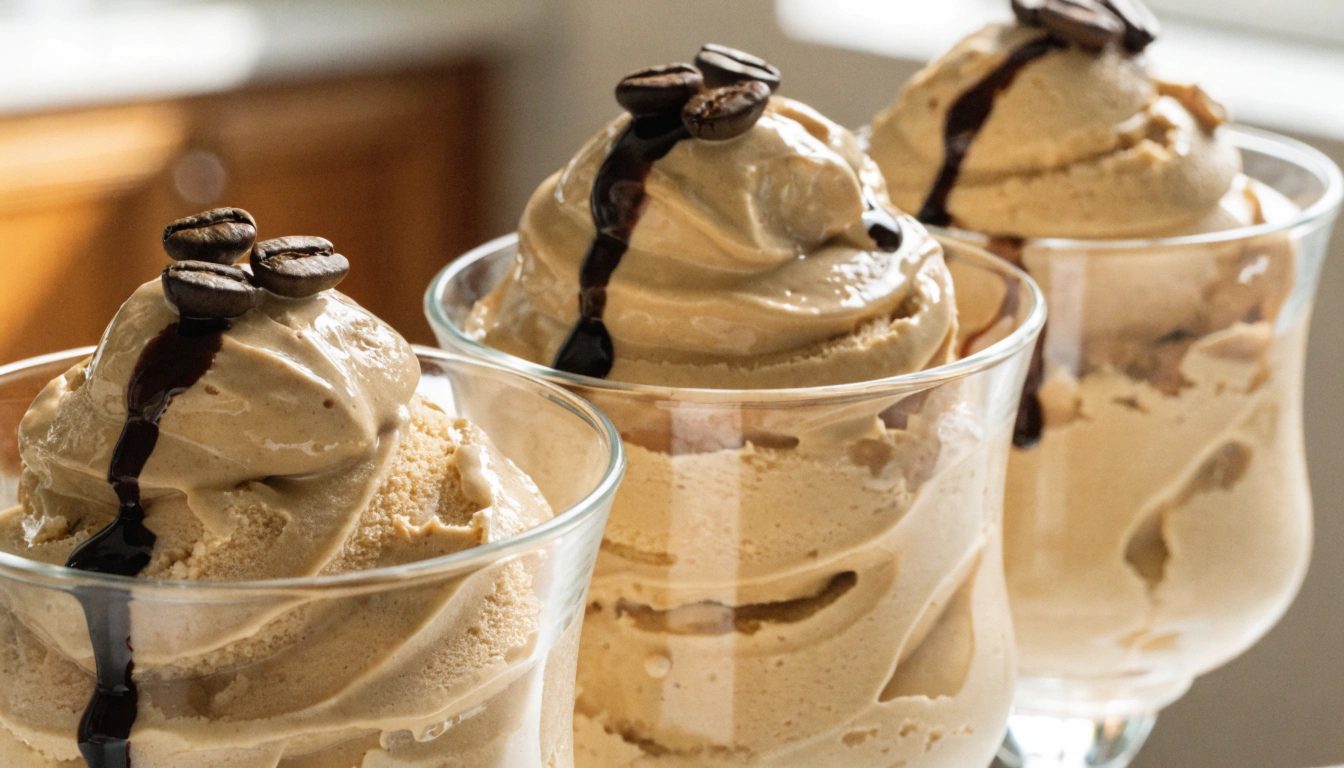
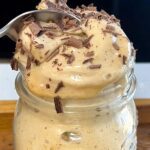
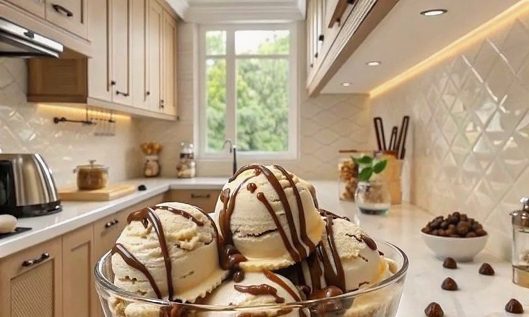
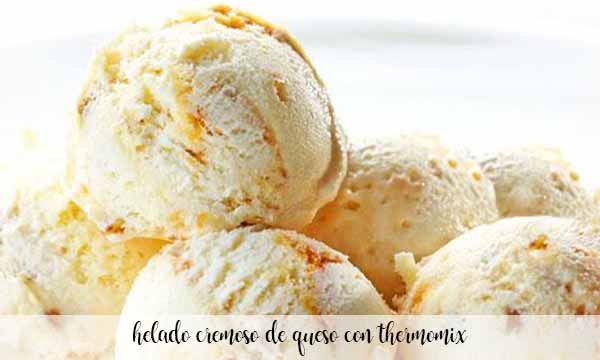
Creamy coffee ice cream in Thermomix
Why the coffee ice cream in Thermomix Is it the summer trend?
Currently, consumers are looking for premium alternatives that allow them to save money without sacrificing the maximum gastronomic quality they obtain in exclusive restaurants.
Therefore, make your own coffee ice cream in Thermomix It reduces costs drastically and gives you complete control over the origin of the ingredients used.
Likewise, the trend towards conscious consumption requires eliminating preservatives, palm oils and excess industrial syrups that flood supermarkets today.
This recipe adapts wonderfully to the summer seasonality, offering a shot of cold energy ideal to combat the fatigue of hot afternoons.
However, its versatility is so wide that you can serve it as a sophisticated dessert at an elegant dinner or as an accompaniment to a hot cake.
The combination of the toasted aroma with the creaminess of the cream creates an unparalleled sensory experience that activates the pleasure receptors from the first spoonful.

The “Digital Chef”: Tricks to achieve absolute perfection
The first expert secret to make your dessert a resounding success consists of the initial powdering of the sugar together with the dry extract.
By grinding at maximum speed, we transform the grain into an impalpable texture that will integrate perfectly with liquids without leaving sandy traces on the palate.
In addition, it is essential to respect the cooking time at 80 degrees to safely pasteurize the mixture without ever reaching the boiling point.
If the milk and cream boil, the milk proteins could denature, spoiling the silky emulsion that we so desire to achieve in the glass.
If you are passionate about the world of frozen desserts and want to expand your recipe book, I advise you to visit our guide on how to prepare a Granulated lemon sorbet in Thermomix to have a fruity and equally refreshing option.
On the other hand, pre-cooling in the refrigerator before moving to the freezer stabilizes the fats, facilitating a much more uniform freezing process.
Finally, using the spatula attachment during the shortening process will help you move dense dough safely toward the moving blades.
Intelligent ingredients and variations for all tastes
To achieve a spectacular result, it is vital to use ingredients with an adequate percentage of fat that provides structure to the whole.
Below, we detail the list of elements necessary to make this frozen delight in just a few minutes:
- ☕ 5-10 g of instant coffee: Choose a variety with an intense natural roast to enhance the final aroma of the ice cream.
- 🥛 250 ml whipping cream: It is essential that it has a minimum of 35% fat to ensure unctuousness.
- 🥛 40 ml of whole milk: It provides the fluidity necessary to balance the density of the dairy cream.
- 🍬 100 g of white sugar: It acts as a sweetener and as a natural antifreeze agent in the preparation.
However, we understand that nutritional needs vary in each home, so you can make the following smart substitutions:
Keto/Sugar Free Version: Replace the 100 g of sugar with 80 g of powdered erythritol and add half a teaspoon of xanthan gum to maintain elasticity.
Vegan / Lactose Free Version: Replace the cream with premium coconut whipping cream and the milk with a concentrated almond drink without added sugar.
Step by step with high precision visual blocks
Follow each of the phases that we present below with complete rigor to guarantee perfect technical execution without unexpected failures.
Step 1: Dry Spraying
Place the 100 g of sugar along with the 5 or 10 g of soluble coffee in the clean and completely dry glass.
Parameters: 10 sec / Speed 10 / No Temperature / Right Turn
Step 2: Cleaning Walls
Use the official spatula to remove any remains of fine powder that have adhered to the walls of the glass.
Parameters: Carry out manually with the robot completely stopped.
Step 3: Infusion and Dairy Integration
Carefully pour the 40 ml of whole milk and the 250 ml of whipping cream over the sugared base.
Parameters: 6 min / 80°C / Speed 4 / Right Turn
Step 4: Cooling Stabilizer
Remove the glass from the body of the robot and let the mixture cool before placing it in ice cube molds for 6 hours.
Parameters: Rest at room temperature / Freezer at -18°C minimum.
Step 5: High Speed Shortening
Take out the frozen cubes, place them in the glass and process to break up any large ice crystals that have accumulated.
Parameters: 10 sec at Speed 7, immediately followed by 15 sec at Speed 5.
Step 6: The Secret of the Final Turbo Touch
Just before serving the dessert in the bowls, apply a final tap to inject micro air bubbles into the cream.
Parameters: 1 stroke of 1 second / Turbo Mode / Ultra silky texture.
“Scan-and-Cook” quick programming table
For those experienced cooks who just need a visual reminder while executing the recipe, we have designed this quick reference summary chart.
| Process Phase | Time | Temperature | Speed | Turn |
|---|---|---|---|---|
| Spray Dry | 10 sec | Varoma / None | Speed 10 | Right |
| Cooking Base | 6 min | 80°C | Speed 4 | Right |
| Break Blocks | 10 sec | Cold | Speed 7 | Right |
| Cream Dough | 15 sec | Cold | Speed 5 | Right |
| Extra Creaminess | 1 sec | Very Cold | Turbo mode | Automatic |
Questions People Really Ask (PAA)
Can this ice cream be made with decaffeinated coffee?
Of course. You can use exactly the same amount of good quality decaffeinated instant coffee to avoid the effects of caffeine during late-night dinners.
What do I do if the cream cubes are too hard for the glass?
In addition to being patient, we recommend leaving the cubes at room temperature for about 3 or 5 minutes before activating the robot’s high speeds.
How long does this homemade ice cream last in the freezer?
As it does not contain artificial chemical preservatives, it will remain in perfect conditions of flavor and texture for a maximum period of 15 to 20 days in an airtight container.
Can I replace the cream with evaporated milk to reduce calories?
However, you must keep in mind that the final texture will lose a lot of creaminess, since the fat in the cream is responsible for retaining the introduced air.
Why is it necessary to use the turbo button just before serving at the table?
Because the power shock deconstructs the residual frozen molecular bonds, injecting an extra volume of air that provides immediate lightness to the sweet.
In conclusion, mastering the cold emulsion technique will allow you to entertain your loved ones with preparations of an excellent professional level.
Therefore, carefully follow each recommendation provided and encourage yourself to prepare this irresistible today. coffee ice cream in Thermomix.
You may also be interested…
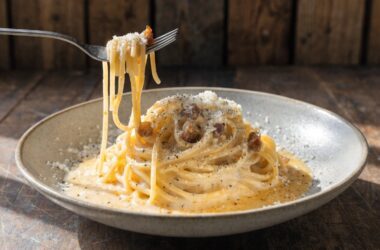
Carbonara Sauce with Thermomix: Original and Creamy Recipe
Carbonara sauce with Thermomix: The definitive recipe If you are looking for a carbonara sauce with Thermomix that is quick and keeps everything…
Read more…
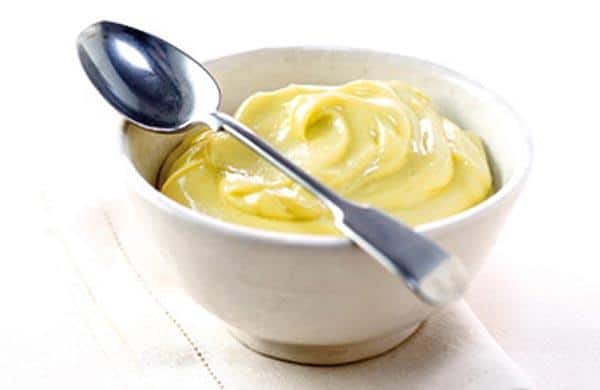
aioli sauce with the Thermomix
In this article, I will take you through the delicious aioli recipe with Thermomix, a kitchen classic…
Read more…
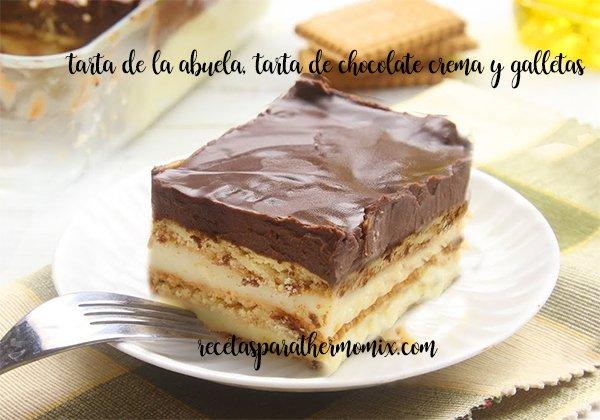
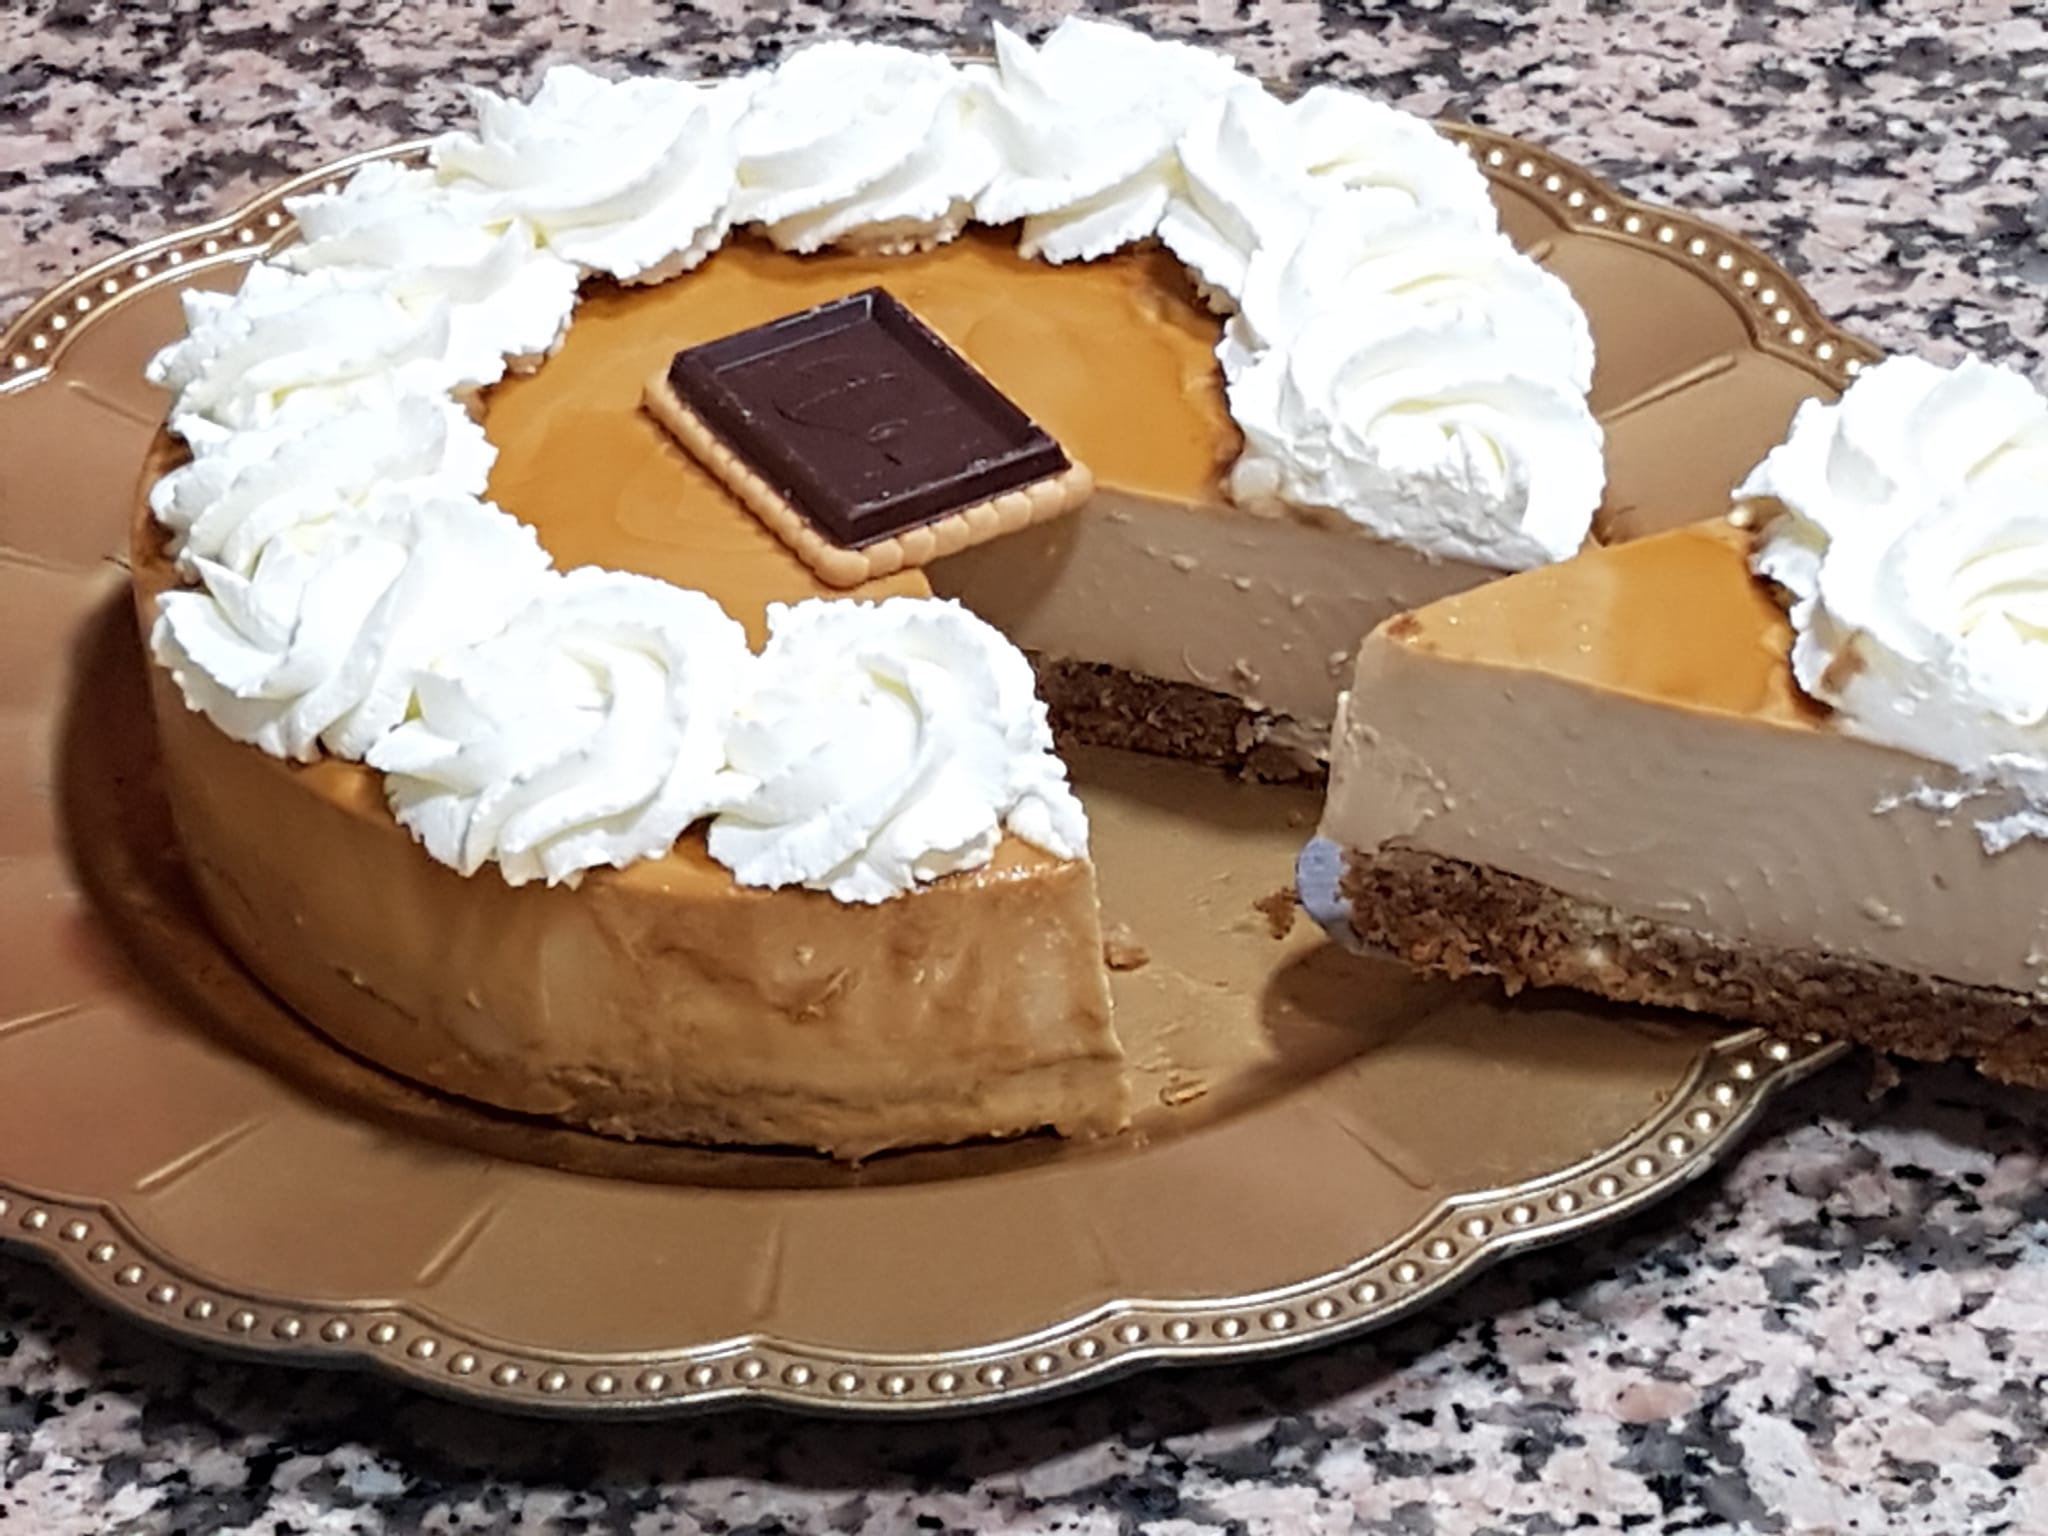
Chocolate and cookie cake, grandma’s cake with thermomix
In the world of baking, some recipes never go out of style, and the Chocolate and Cookie Cake, too…
Read more…

Curry chicken with Thermomix
Do you like very spicy foods or foods that have deeply flavored spices? If the answer is yes, you are interested…
Read more…
Canes filled with cream with thermomix
Today we bring another recipe from our friend Luz Maria Lagoa Vives. Today I’m sharing a recipe for canes stuffed with…
Read more…
Dalgona-style strawberry smoothie
A while ago, dalgona coffee became extremely fashionable due to the foam we could get with…
Read more…

facebook group
Join our facebook group
New recipes commented with thousands of users
New recipes commented with thousands of users

NOTE: INTERESTING RECIPES FOR THIS NEW YEAR… I’m sure you are also interested in these recipes.
-

40 thermomix recipes to lose weight
-

20 DETOX drinks with thermomix to improve your health
-

75 Easy Recipes with Thermomix
-

60 best desserts with thermomix
-

20 cakes with thermomix
-

20 tricks with thermomix
-

100 breakfasts with thermomix
-

300 recipes for times of crisis with thermomix
-

100 recipes for summer with thermomix
-

25 recipes with zucchini with thermomix
-

75 light dinners with Thermomix
-

Carbonara Sauce with Thermomix: Original and Creamy Recipe
-

Stuffed mussels or tigers with thermomix
-

Carrot Cake (Carrot Cake) with Thermomix
-
Jijona nougat with Thermomix
-
Lemon sorbet with the Thermomix
Related posts:
 Creamy Coffee and Banana Ice Cream with Thermomix
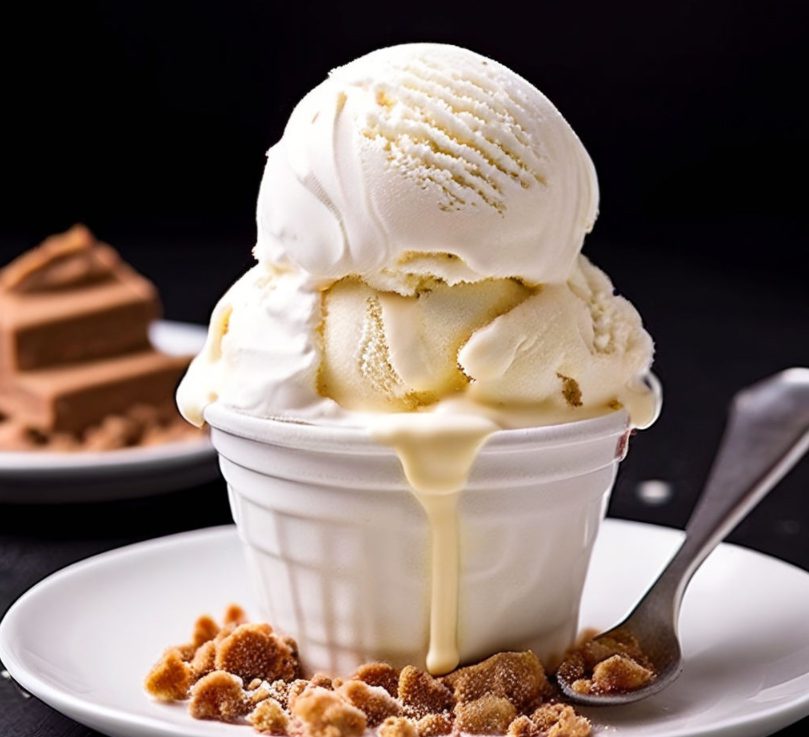 Creamy vanilla ice cream with thermomix
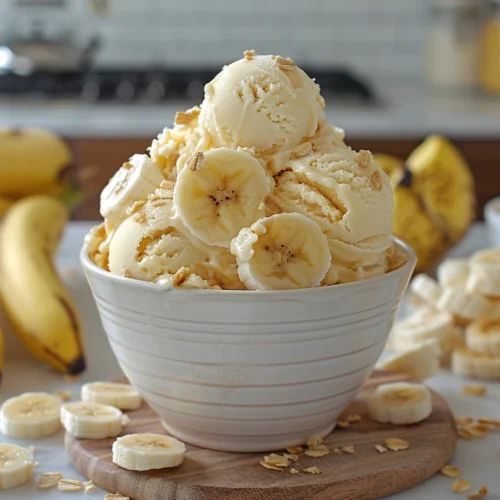 Banana creamy ice cream in Thermomix
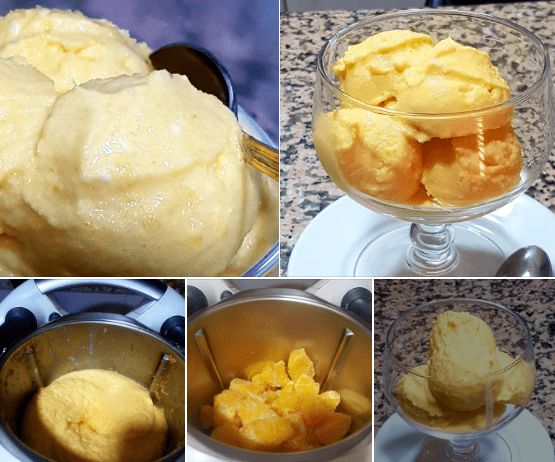 Creamy orange ice cream with Thermomix
 Platano creamy ice cream with Thermomix
 Coffee ice cream with yolk with Thermomix
 Creamy coffee and cream with thermomix
 Cookies&cream ice cream version of Häagen-Dazs with your thermomix
 Creamy coconut and pineapple ice cream with thermomix
 Creamy cheese ice cream Thermomix
 Thermomix creamy cheese ice cream
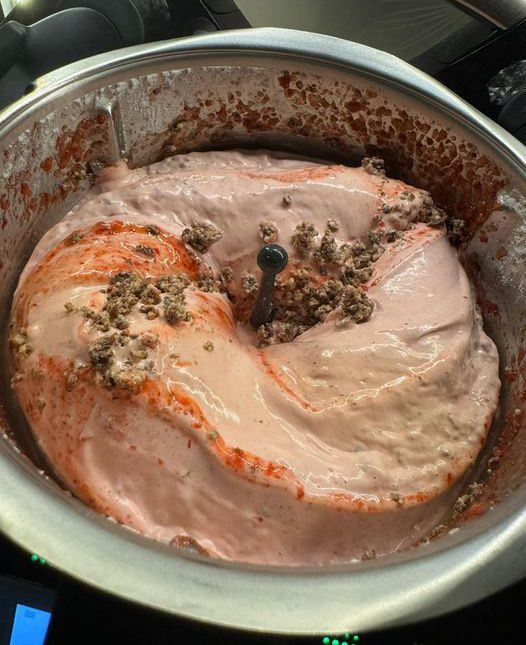
 Mega creamy fruit ice cream with Thermomix
 Creamy Yogurt Ice Cream with Thermomix in 5 Minutes
Creamy Yogurt Ice Cream with Thermomix in 5 Minutes
Creamy Yogurt Ice Cream with Thermomix in 5 Minutes