Light Lemon Cheesecake Mousse with Thermomix
 (No Ratings Yet)
 Loading... (No Ratings Yet)Loading...
Are you passionate about citrus desserts but dread spending hours in the kitchen measuring densities? Prepare an authentic Light Lemon Cheesecake Mousse with Thermomix It usually presents a great technical challenge for baking fans. The main problem lies in ensuring that the dairy structure is not cut and maintains its characteristic volume.
Therefore, frustration increases when the dessert is liquid or with annoying lumps of poorly dissolved gelatin at the bottom. Hectic comes when you have guests at home and the dessert doesn’t set in time, completely ruining your menu. However, today you are going to discover the definitive method to break that annoying streak of culinary mistakes.
The definitive solution is to optimize the use of your food processor to achieve a perfect emulsion and impeccable aeration. According to the basic principles of applied molecular gastronomy, precise speed control is the absolute key. In addition, with this formula you will get a refreshing sweet, low in calories and with a high pastry texture.
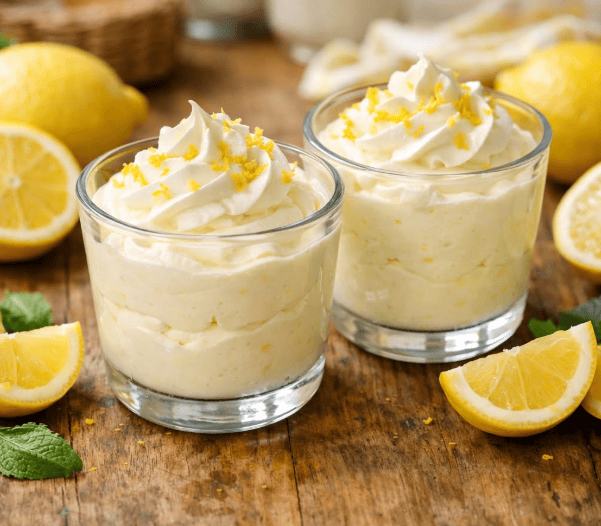
Light Lemon Cheesecake Mousse with Thermomix
This dessert has established itself as the absolute summer trend thanks to its perfect balance between freshness and lightness. In the hot months, the body rejects heavy cakes and seeks ethereal textures that immediately cleanse the palate. Consequently, this recipe becomes the ideal finishing touch to any family dinner.
Furthermore, the energy saving factor is a great driver of its current popularity on social networks. As it is a dessert that consolidates exclusively when cold, we avoid turning on the oven and heating the house unnecessarily. Without a doubt, it is an ecological and extremely intelligent option for these times.
Likewise, the growing demand for healthy alternatives has positioned this sweet at the top of the digital ranking. Its base uses ingredients with a controlled fat content without sacrificing palatability or creaminess at any time. For this reason, taking care of yourself no longer means giving up the pleasure of a sophisticated dessert.
To get your mousse to have a cloud-like consistency, the professional secret lies in the temperature of the cream cheese. It is vitally important that the cheese is at room temperature before being placed in the Thermomix container. If the cheese is too cold, it will resist integrating with the hot liquid, generating unwanted lumps.
Likewise, the process of dissolving gelatin requires a constant speed to avoid creating solid threads during cooling. The power of the blades ensures that the collagen particles are evenly hydrated in the boiling water immediately. Furthermore, this previous step is what will hold the entire structure of the mousse.
On the other hand, if you are passionate about soft textures and want to expand your repertoire of infallible sweets, we suggest you visit our cold cheesecake recipe in Thermomix. Both desserts share the elegance of cream cheese but with completely different nuances and presentations that will surprise your guests.
The components of this recipe have been carefully selected to offer an unmatched citrus contrast with minimal technical effort:
If you want to adapt this preparation to different long-tail nutritional profiles, the options are extremely simple and direct. For a Keto or low carb version, use sugar-free lemon gelatin and pure whipped cream with erythritol. In case of intolerance, replace the cheese and cream with their certified lactose-free counterparts.
Follow each of these technical phases meticulously to ensure a finish worthy of the best French pastry:
Step 1: Hydration and thermal dissolution of the gelatin
Place the entire sachet of lemon gelatin in the Thermomix glass. Immediately pour 120 ml of boiling water to begin the collagen activation process.
Parameters: Time: 20 sec | Temperature: Without temperature | Speed: 4 | Spin: Neutral
Step 2: Emulsion of the dairy base and tempering
Add the 250 g of cream cheese at room temperature along with the 120 ml of cold water. Mix vigorously until you achieve a homogeneous, silky, shiny cream completely free of lumps.
Parameters: Time: 1 min | Temperature: Without temperature | Speed: 5-6 | Spin: Neutral
Step 3: Manual aeration and enveloping movements
Pour the dairy preparation into a large bowl. Add the whipped cream gradually, making slow, sweeping movements with the spatula from bottom to top so as not to lose the volume.
Parameters: Time: Manual | Temperature: Room | Speed: Spatula | Spin: Neutral
Step 4: Dosage, crystallization and final decoration
Divide the mousse evenly into 4 or 6 individual glasses. Place the containers in the refrigerator for at least a long time and decorate with fresh berries just before serving.
Parameters: Time: 2 hours minimum | Temperature: 4°C (Fridge) | Speed: Rest | Spin: Neutral
Consult this interactive visual tool to control the exact times of your food processor during the process:
| Operational Phase | Key Ingredients | Technical Time | Assigned Speed |
|---|---|---|---|
| Gelatin activation | Gelatin + boiling water | 20 seconds | Speed 4 |
| Cheese integration | Cream cheese + cold water | 1 minute | Speed 5-6 |
| cold setting | Total mix in glasses | 2 hours | absolute rest |
The main cause is usually not respecting the minimum two hours of refrigeration necessary for the gelatin to crystallize properly. Furthermore, adding the cream abruptly can break the air bubbles, destabilizing the whole.
Yes, however, you must use previously hydrated neutral gelatin sheets to ensure that the structure sets correctly. Natural lemon juice will significantly enhance the acidity but requires adjusting the sweetener levels.
It keeps perfectly in the refrigerator for up to 3 days protected with plastic wrap so that it does not absorb odors. However, we advise you to place the decorative fresh fruits only at the precise moment of serving it.
If you notice lumps, it is due to thermal shock from using the cheese that is too cold straight out of the refrigerator. Therefore, program 30 more seconds at speed 6 to completely homogenize the mixture before adding the cream.
It is not ideal since commercial gelatin tends to separate its liquids when thawed, ruining the air emulsion. If you are looking for a creamy frozen texture, it is preferable to use bases rich in stable fats or invert sugars.




NOTE: INTERESTING RECIPES FOR THIS NEW YEAR… I’m sure you are also interested in these recipes.












 Lemon mousse with Thermomix: light, silky and spectacular
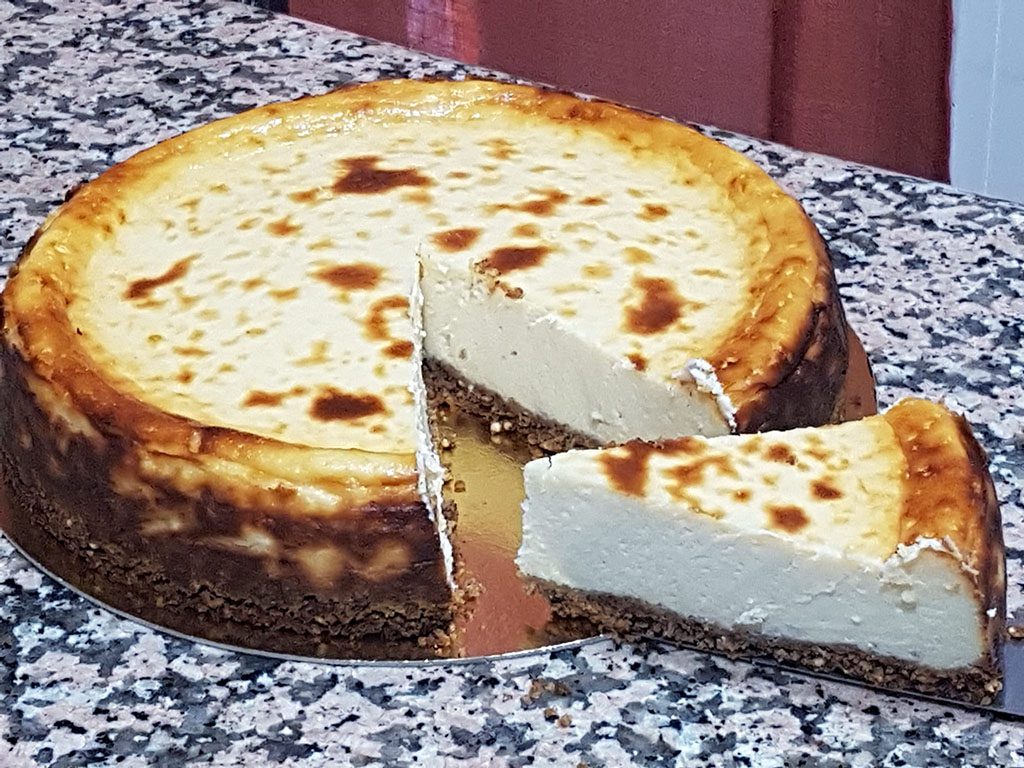 Light Cheesecake with thermomix
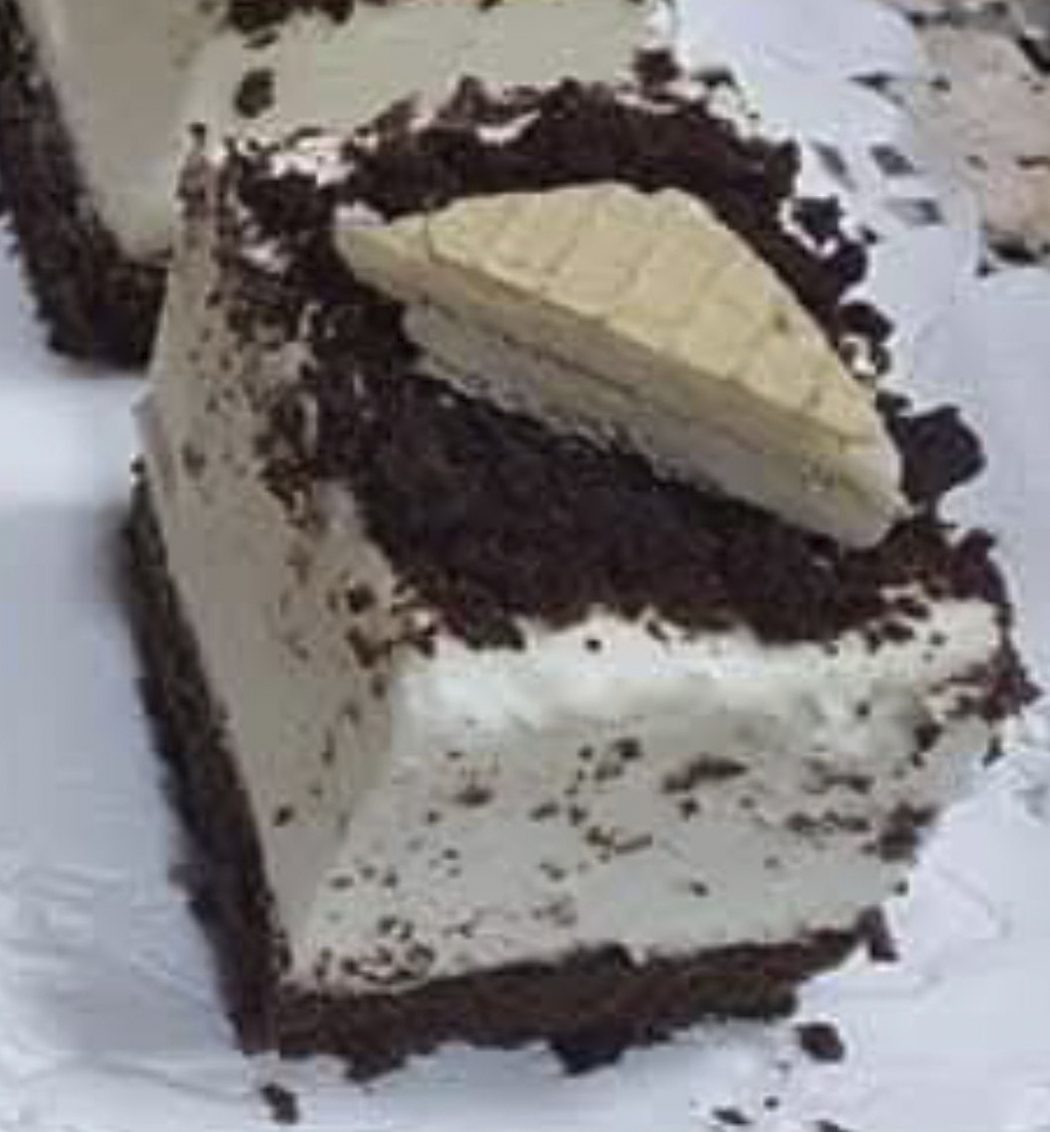 Light serraura with Thermomix
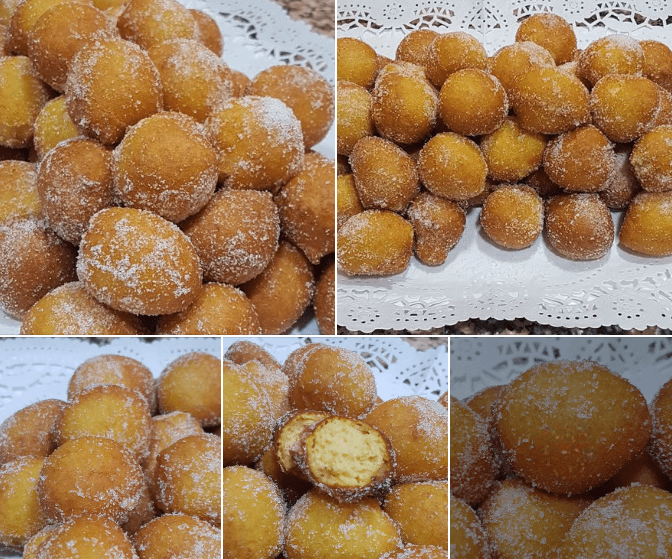 Light Pumpkin Fritters with Thermomix
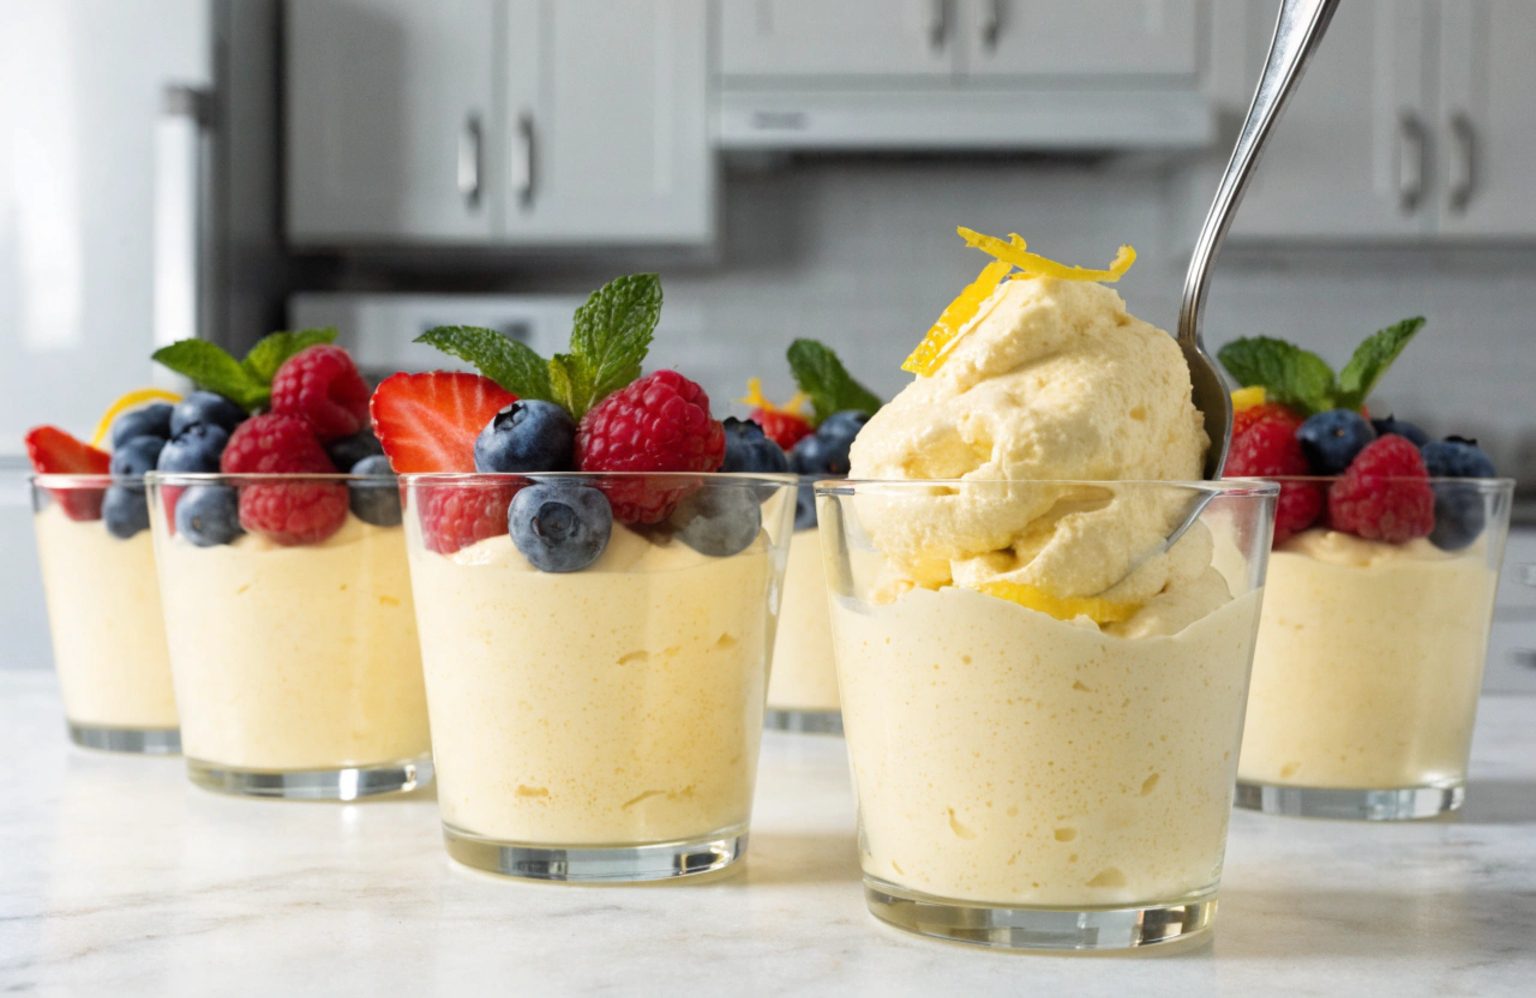 Lemon mousse with mascarpone in Thermomix
 Light coffee curd with thermomix
 Super light soup with thermomix
 75 light dinners with Thermomix
 Light Hard-Boiled Egg Salad with Thermomix
 light hazelnut cream with thermomix
 Potato and cauliflower puree with Thermomix. The light version
 Zucchini and Carrot Tomato Sauce in the Thermomix: Light, Versatile, and Full of Flavor
 MASS TO MAKE LIGHT PIZZA WITH THERMOMIX
 Diet Frappuccino in Thermomix: The infallible secret for an ultra-creamy and light iced coffee
 Light BBQ Barbecue Sauce with Thermomix