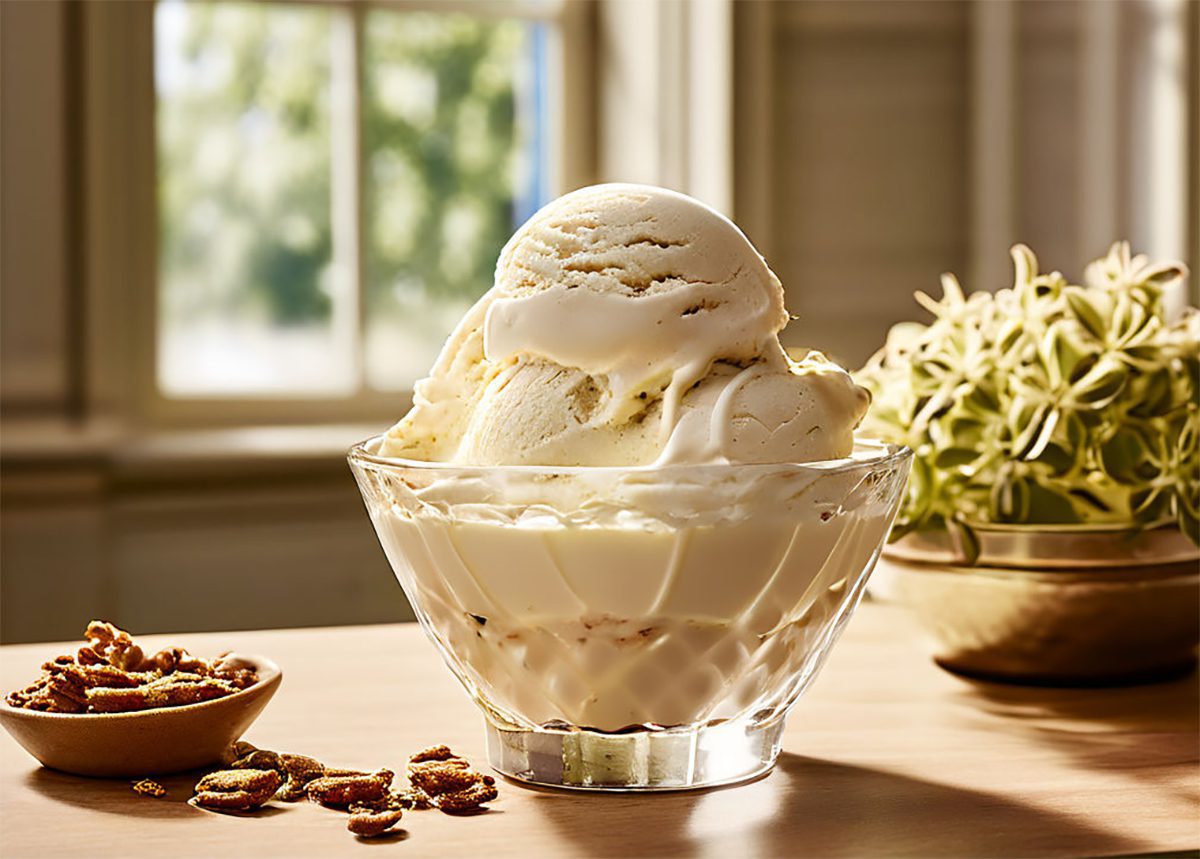
Hazelnut ice cream in Thermomix: Complete guide for professional and foolproof creaminess
Have you ever dreamed of replicating the perfect texture of authentic Italian gelato without leaving home? Get an authentic hazelnut ice cream in Thermomix With that silky consistency and a deeply intense flavor, it is the desire of any lover of good food.
However, most homemade recipes end up turning into a frustratingly solid block of ice within a few hours of going into the freezer. Consequently, the initial enthusiasm turns into disappointment as the characteristic unctuousness that fascinates us so much about artisan ice cream parlors is lost.
However, the solution does not lie in purchasing expensive industrial machinery, but in understanding the science of the ice cream formulation adapted to our kitchen robot. Furthermore, by using certain functional sugars and natural stabilizers, we will completely transform the molecular structure of our culinary preparation.
In this article you will learn the definitive method to master the balance of fats and sugars, based on the principles of the physics and chemistry of artisanal ice cream. Get ready to discover how your robot can emulsify and butter a dairy base impeccably, guaranteeing a gourmet result in every spoonful.
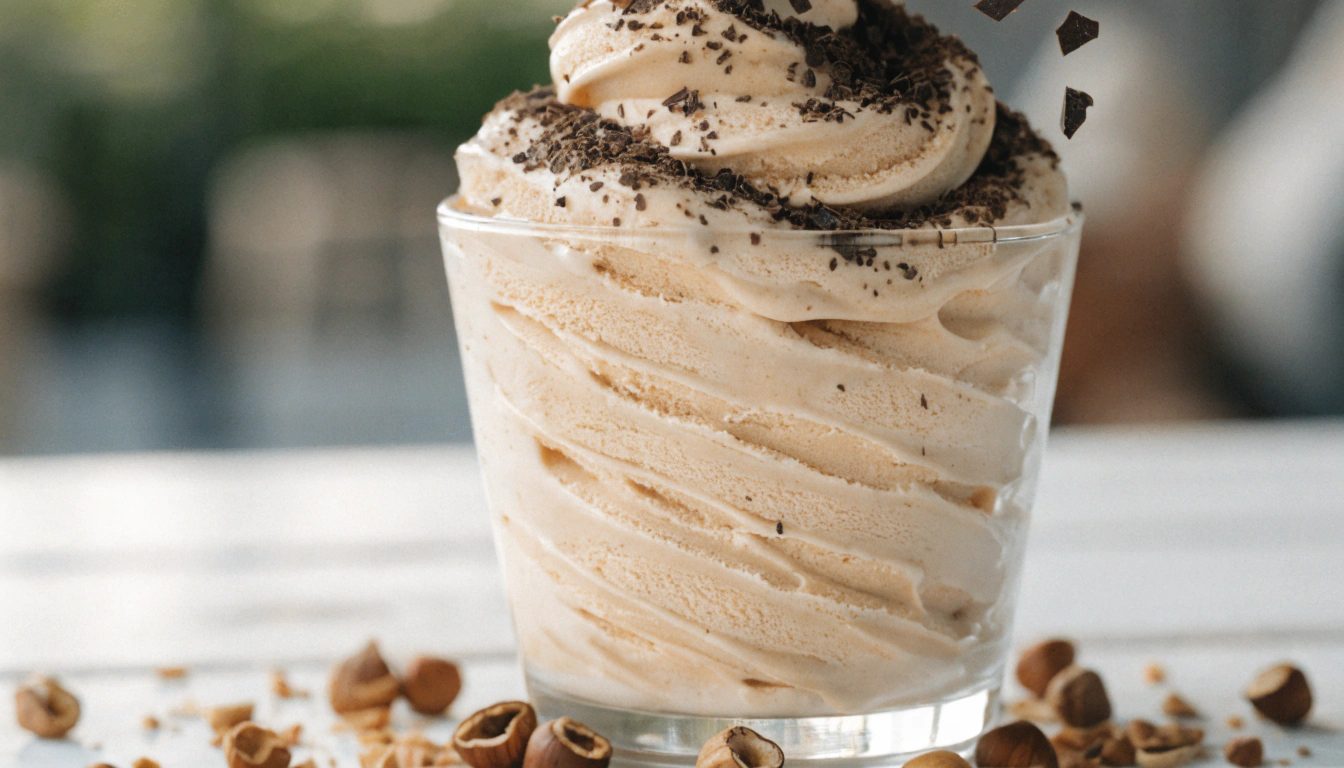
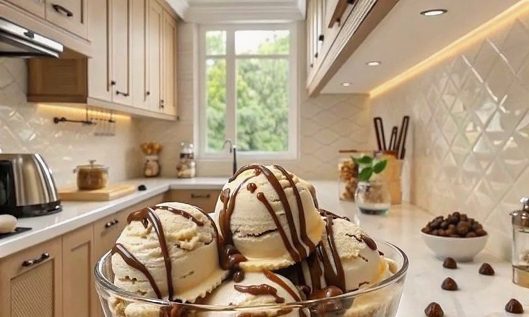
thermomix hazelnut ice cream
Why hazelnut ice cream in Thermomix is a trend this year
The rise of conscious and high-quality baking has positioned the hazelnut ice cream in Thermomix as one of the most sought after and viral recipes of the moment. Firstly, today’s consumers prioritize the elimination of artificial additives, unnecessary preservatives and palm oils present in supermarket commercial options.
Furthermore, the economic factor plays a crucial role in this global culinary trend. Making your own premium ice cream at home drastically reduces costs, allowing you to invest exclusively in organic and local raw materials.
Therefore, controlling every gram of sugar and choosing healthy fats such as those in nuts makes this dessert a fantastic option to take care of family health without giving up pleasure. Without a doubt, it is the perfect alternative to surprise your guests during the hot months or as a finishing touch to a special dinner.

The “Digital Chef”: Master tricks for an Italian ice cream texture
To achieve absolute success, it is essential to understand the role of each technical ingredient within the glass of your food processor. Dextrose, for example, has a greater antifreeze power than common sugar, which effectively prevents the formation of annoying water crystals.
On the other hand, carob seed flour acts as a highly efficient natural stabilizer. This substance absorbs free water from the mixture, creating a viscous network that retains the air incorporated during the high-speed shortening process.
When cooling the base, I advise you to place transparent film in direct contact with the surface of the liquid. This way, you will prevent the cold air from the freezer from creating a dry crust or adding unwanted moisture to our cream.
Chef’s Tip: If you want a spectacular themed menu, you can combine this frozen delight with some wonderful crispy waffles made in Thermomixachieving a contrast of temperatures that will fascinate everyone.
Finally, the secret of the final shortening lies in cutting the frozen block into uniform pieces. By crushing at speed 5 and then beating with the butterfly, we will emulate the movement of professional butter machines, injecting just the right amount of air to obtain a sublime creaminess.
Premium ingredients and smart variations for everyone
To prepare this spectacular dessert, you will need to gather the following ingredients in your kitchen:
- 🌰 120 g pure hazelnut paste (or 110 g toasted hazelnuts + 10 g neutral seed oil).
- 🍫 40 g of dark chocolate (minimum 70% cocoa for a balanced contrast).
- 🥛 200 g of fresh whole milk (provides the proteins necessary for the structure).
- 🍦 200 g of fresh whipping cream (minimum 35% fat).
- 🥚 2 medium egg yolks (they act as a natural emulsifier thanks to lecithin).
- 🍬 90 g of common white sugar.
- 🧪 1 heaping teaspoon of pure dextrose powder.
- 🌱 1 level teaspoon of carob seed flour (locust bean gum).
If you have special dietary needs, you can easily adapt the recipe without losing quality. for a version gluten freemake sure that both the chocolate and the stabilizers are certified as trace-free.
On the contrary, if you are looking for an alternative lactose free or vegan, replace dairy with coconut cream and almond milk, and replace the yolks with a pinch of soy lecithin. Likewise, for a low-carb (Keto) approach, replace sugar and dextrose with erythritol and allulose.
Detailed step by step for flawless ice cream
Carefully follow each of these structured stages to guarantee a professional result from the first try:
Step 1: Grinding the aromatic base
Place the hazelnut paste together with the chopped dark chocolate in the clean, dry glass. Process immediately during 15 sec / speed 7 until you obtain a fine paste.
Step 2: Melting and homogenization
To perfectly integrate the nut oils with the cocoa, patiently program your robot during 3 min / 50 °C / speed 3.
Step 3: Pasteurization and cooking of the cream
Add the whole milk, fresh cream, 2 egg yolks, sugar, dextrose and carob flour. Kitchen programming 8 min / 80 °C / speed 3 to activate the stabilizer.
Step 4: Ripening and deep freezing
Pour the mixture into a flat aluminum container. Cover with plastic wrap in direct contact, let cool to room temperature, then freeze for a minimum of 8 to 12 hours.
Step 5: Break the structure and start the shortening
The next day, take the block out of the freezer, cut it with a sharp knife into cubes of about 3 cm and place them in the glass. Crushing butter speed 5 continuous until the mixture becomes smooth.
Step 6: Final emulsion with butterfly
Quickly place the butterfly on the blades without disassembling the cream. Program with energy 1 min / speed 3 to introduce air and achieve that desired Italian texture.
“Scan-and-Cook” programming table
| Process Phase | Time | Temperature | Speed | Accessories |
|---|---|---|---|---|
| 1. Crush base | 15 sec | No temperature | Speed 7 | Normal blades |
| 2. Melt cocoa | 3 min | 50°C | Speed 3 | Normal blades |
| 3. Cooking dairy base | 8 min | 80°C | Speed 3 | Normal blades |
| 4. Break frozen | Visual progress | No temperature | Speed 5 | Normal blades |
| 5. Buttery and airy | 1 min | No temperature | Speed 3 | Butterfly placed |
Frequently Asked Questions People Really Ask (FAQs)
What happens if I don’t have dextrose for the hazelnut ice cream?
You can replace it with invert sugar or honey in the same proportion. However, you should keep in mind that the sweetening power will increase slightly and the flavor of the honey may subtly mask the aromatic power of the toasted hazelnut.
Can I use whole hazelnuts instead of hazelnut paste?
Yes of course. Place 110 grams of toasted skinless hazelnuts in the glass along with 10 grams of neutral oil. Blend for 1 minute at speed 10 until you obtain a fluid, shiny paste completely free of large pieces before adding the chocolate.
Why is it mandatory to use carob seed flour?
Because it acts as a hydrocolloid that traps the free water in the recipe. When heated to 80 °C it is activated, strongly preventing the water from separating and forming hard crystals during the prolonged freezing phase.
How long does it stay in perfect condition in the freezer?
As it does not contain industrial chemical preservatives, it will remain in optimal condition for approximately two weeks. However, I suggest you consume it within the first seven days to fully enjoy its organoleptic aromatic nuances.
Should I re-butter the ice cream if I have leftovers after serving?
Indeed, it is ideal. When you store it again in the home freezer, it will lose some of the incorporated air. Therefore, passing it through the glass of your robot again for a few seconds before consuming it again will restore its initial silky texture.
In conclusion, by following these scientific and culinary technical steps, you will master the art of authentic hazelnut ice cream in Thermomixdelighting all your guests with an unforgettable gastronomic experience.
You may also be interested…
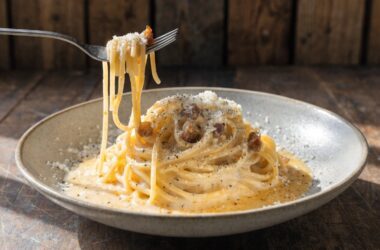
Carbonara Sauce with Thermomix: Original and Creamy Recipe
Carbonara sauce with Thermomix: The definitive recipe If you are looking for a carbonara sauce with Thermomix that is quick and keeps everything…
Read more…
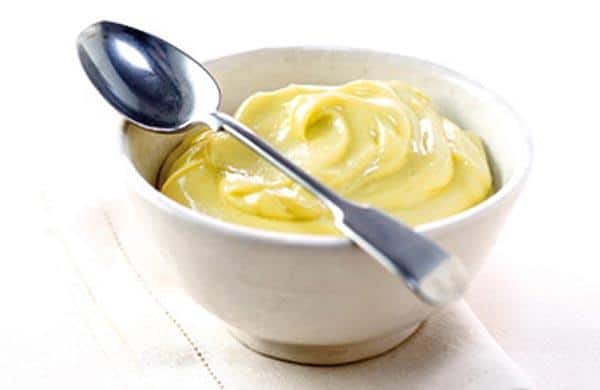
aioli sauce with the Thermomix
In this article, I will take you through the delicious aioli recipe with Thermomix, a kitchen classic…
Read more…
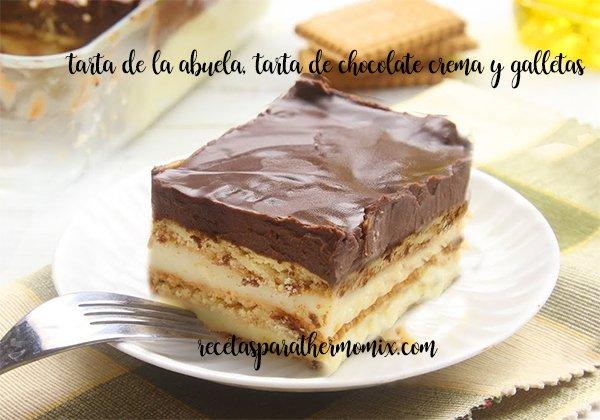
Chocolate and cookie cake, grandma’s cake with thermomix
In the world of baking, some recipes never go out of style, and the Chocolate and Cookie Cake, too…
Read more…

Curry chicken with Thermomix
Do you like very spicy foods or foods that have deeply flavored spices? If the answer is yes, you are interested…
Read more…
Canes filled with cream with thermomix
Today we bring another recipe from our friend Luz Maria Lagoa Vives. Today I’m sharing a recipe for canes stuffed with…
Read more…
Dalgona-style strawberry smoothie
A while ago, dalgona coffee became extremely fashionable due to the foam we could get with…
Read more…

facebook group
Join our facebook group
New recipes commented with thousands of users
New recipes commented with thousands of users

NOTE: INTERESTING RECIPES FOR THIS NEW YEAR… I’m sure you are also interested in these recipes.
-

Food calorie table
-

Carbonara Sauce with Thermomix: Original and Creamy Recipe
-

Meringue with Thermomix
-

Cooked croquettes with thermomix
-

homemade fried tomato with Thermomix
-
Lemon mousse with the Thermomix
-

sausages in wine with thermomix
-
recipe how to make Japanese Panko
-

Meat in sauce with thermomix
-

Perfect homemade mayonnaise with Thermomix
-

Beef stew with the Thermomix
-

Lentils with chorizo with Thermomix
-

Chicken broth with thermomix
-

Thermomix red velvet cake
-

50 cheesecake recipes for thermomix
-

White beans with chorizo with thermomix
Related posts:
 Hazelnut quick ice cream with thermomix
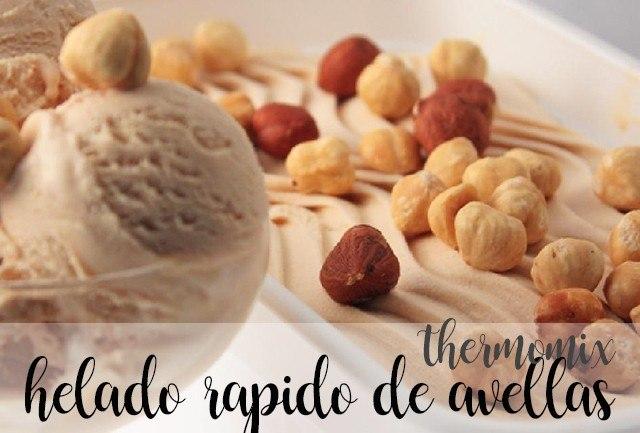 Quick hazelnut ice cream with thermomix
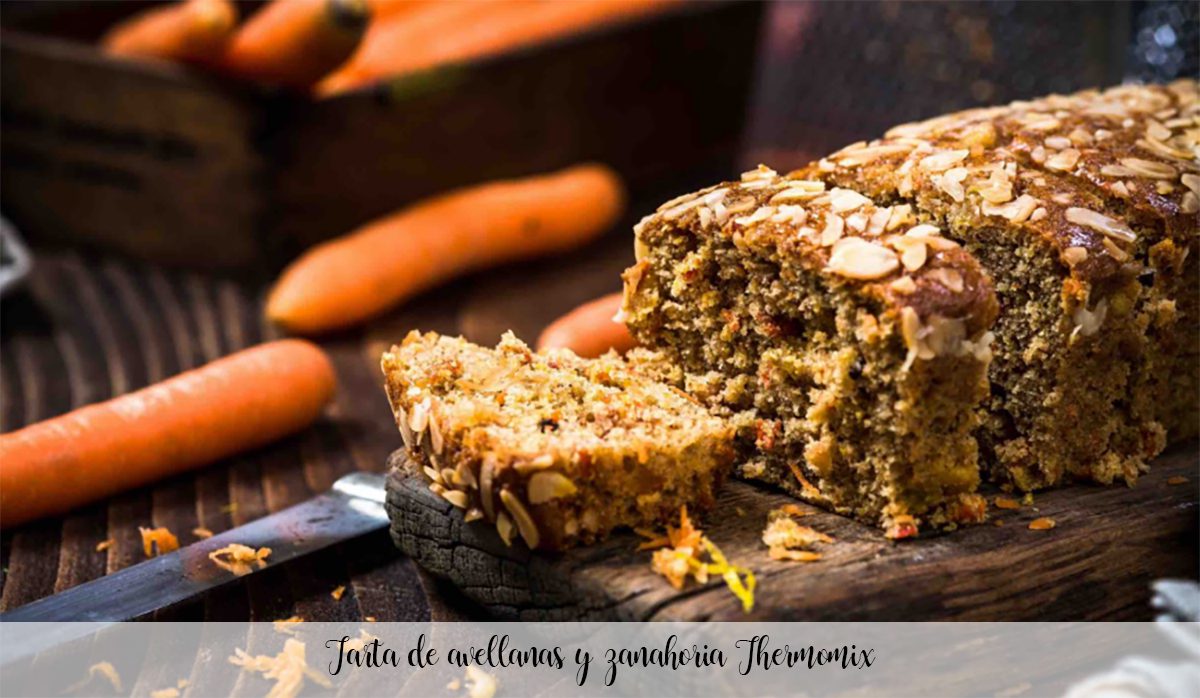 Hazelnut and carrot cake Thermomix
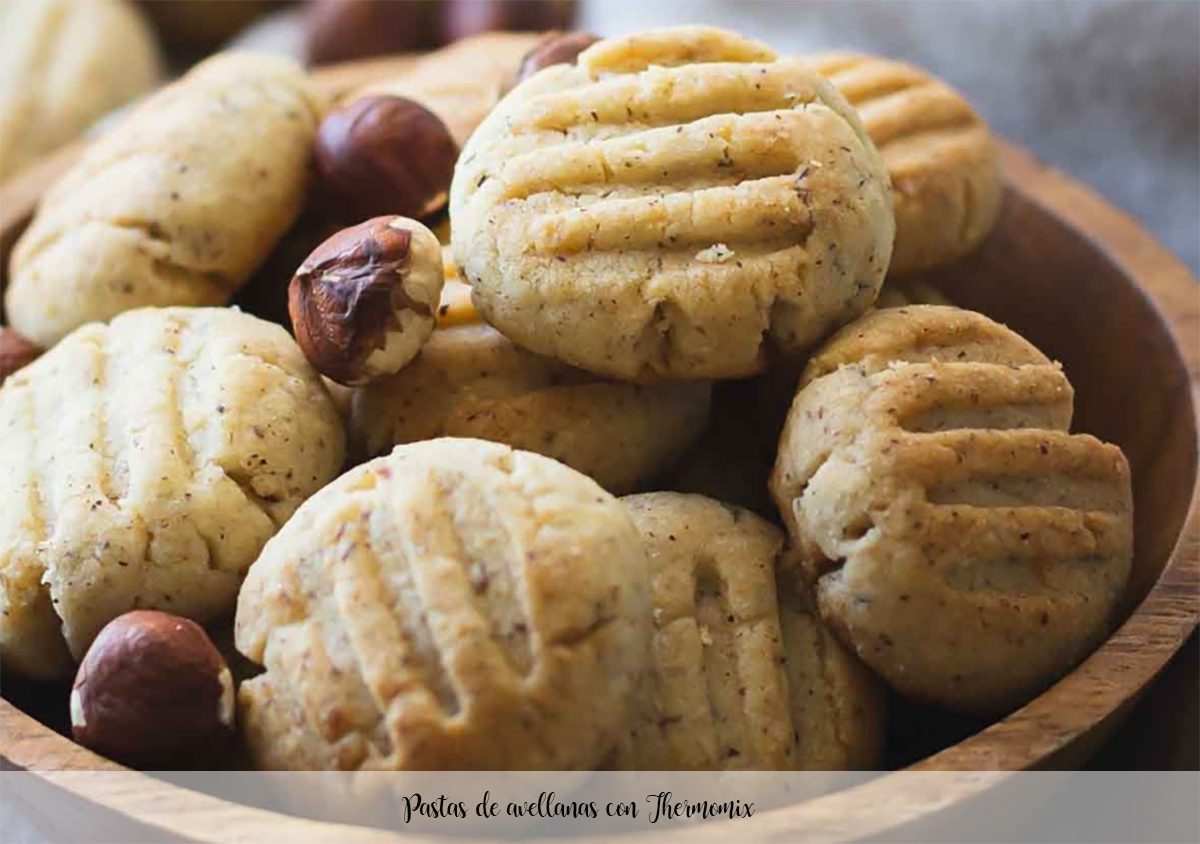 Hazelnut pastes with Thermomix
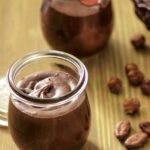 Hazelnut and Cocoa Pudding with Thermomix
 “Double Hazelnut” Gypsy Arm with Thermomix: The crunchy secret
 Hazelnut cream and biscuit cups with Thermomix
 light hazelnut cream with thermomix
 Easy Baileys ice cream with Thermomix
 Sobao Pasiego ice cream with Thermomix
 Banana creamy ice cream in Thermomix
 Vegan ice cream of oat milk with Thermomix
 Coffee ice cream with yolk with Thermomix
 Lemon curd ice cream with Thermomix