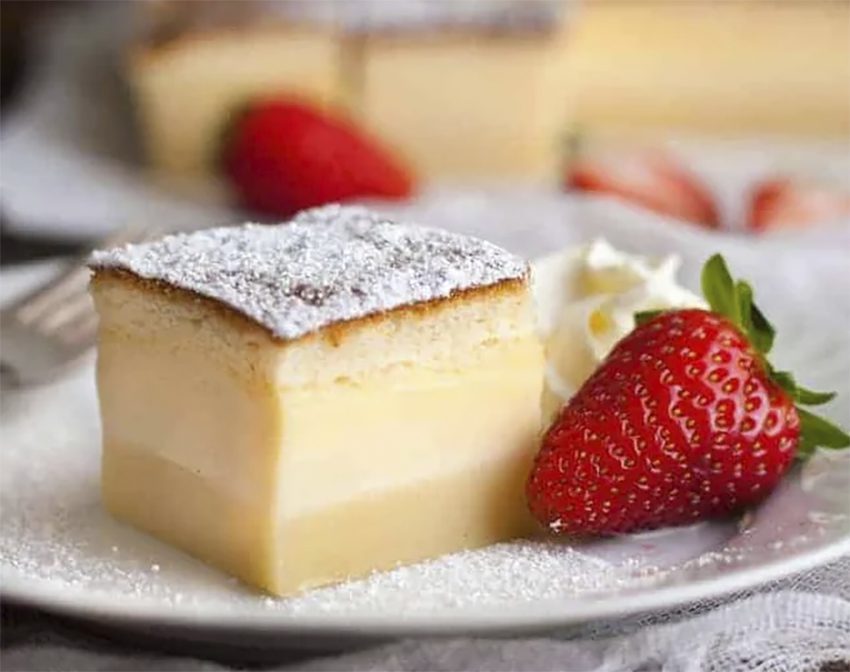
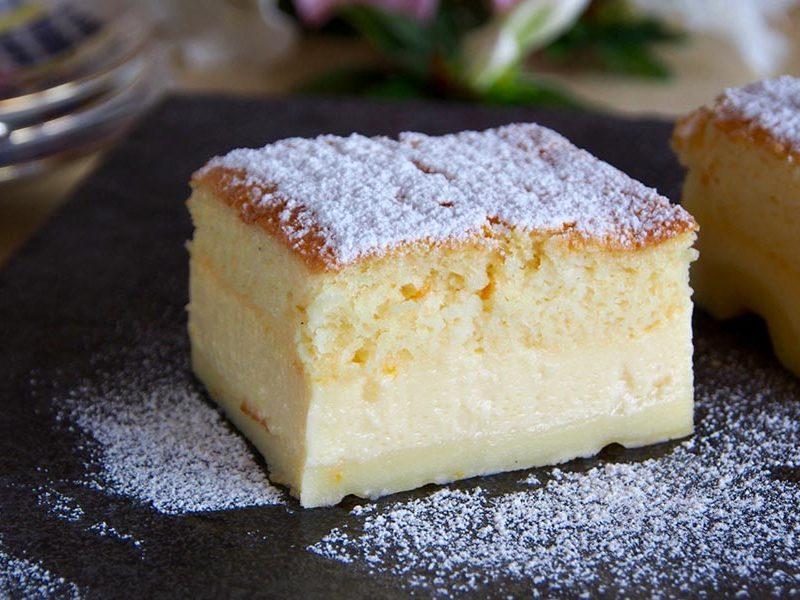
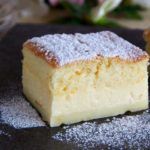
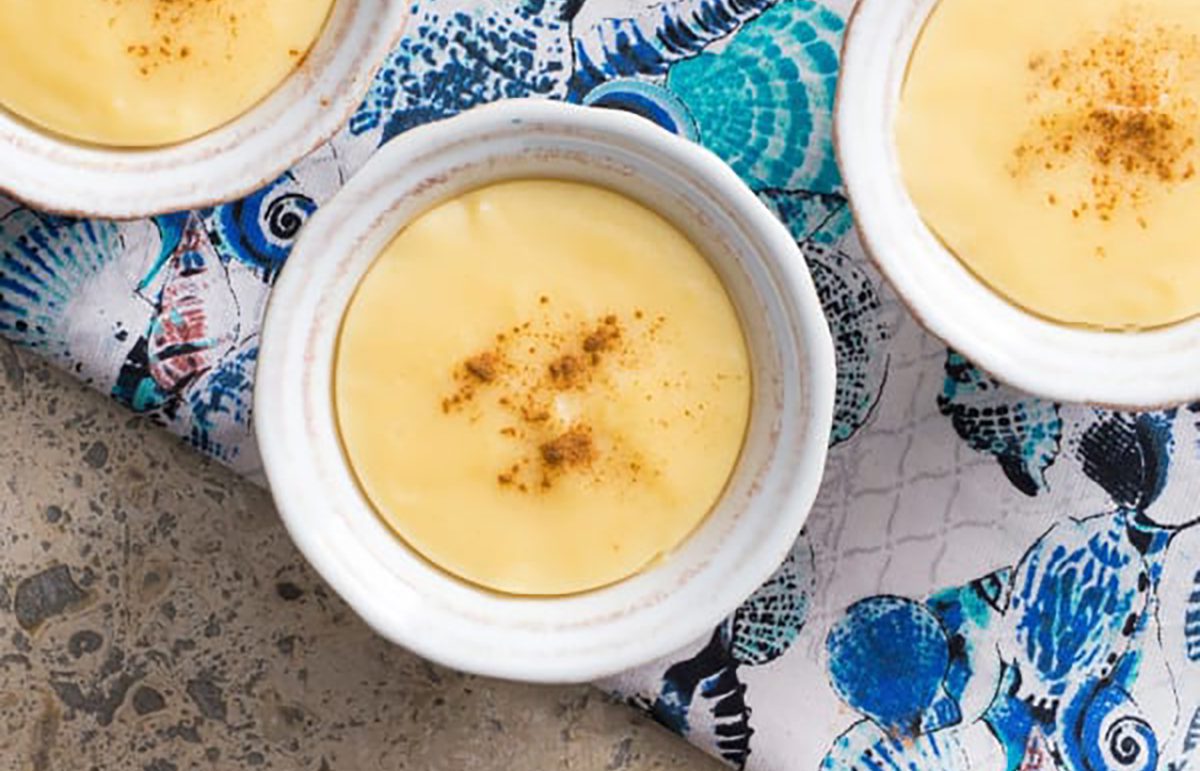
He Magic custard cake with Thermomix It is a fascinating dessert that, thanks to its particular baked way, develops three different layers from a single mixture: a dense and creamy base, a soft custard center and a spongy and aerated upper part.
This cake is perfect to surprise the family and friends with an unmatched texture and an exquisite flavor.
What is the magical cake and why is it called that?
He Magic cake It owes its name to the way in which the ingredients, during the baking, are separated into three different layers without the need for additional mixtures. This occurs thanks to the combination of a liquid mass and precise temperature control in the oven. When using the Themomixthe preparation becomes much simpler and we guarantee a perfect result each time.
Magic custard cake
Magic custard cake with Thermomix
People
6
Cooking time:
30 minutes
Total time
30 minutes
Kitchen
Themomix
Themomix
Category:
Desserts with Thermomix
Magic custard cake ingredients with Thermomix
- 4 eggs (separating the loungers from the whites)
- 150 g of sugar (it can be common or powdered)
- 1 teaspoon vanilla extract
- 125 g of salt without salt, melted
- 115 g of common flour for all use
- 500 ml of warm milk (whole or low fat)
- Glas sugar to decorate (optional)
Preparation of magic custard custard
- 1. Preheat the oven and prepare the mold
- Before starting, preheat the oven at 160 ° C (forced convection or fan) and butter a square mold of approximately 20×20 cm.
- 2. Mount the whites about to snow
- Place egg whites in the Thermomix glass.
- Beat at speed 3.5 for 4-5 minutes, until firm peaks are formed.
- Remove and reserve in a separate bowl.
- 3. Prepare the base mixture
- Without washing the glass, add egg yolks and sugar.
- Mix for 1 minute at speed 3 until the mixture acquires a pale yellow color.
- Add vanilla extract and melted butter.
- Mix again for 30 seconds at speed 3.
- 4. Incorporate the flour
- Add the sifted flour and mix for 20 seconds at speed 3 until it is well integrated.
- 5. Add the milk
- Little by little, warm milk in the glass while mixing for 30 seconds at speed 3.
- 6. Incorporate the mounted clearings
- With a spatula, it incorporates the whites mounted in the mixture in three parts, with enveloping movements so as not to lose air.
- 7. Pour the mixture and bake
- Pour the mixture into the previously greased mold.
- Bake at 160 ° C for 40-50 minutes.
- If the surface is too fast, it covers with aluminum foil.
- The cake will be ready when when moving the mold gently, the mixture does not move liquid.
- 8. Cooling and unmolding
- Let cool inside the mold for 10 minutes.
- Then, unmold carefully and let him get cooled on a grid.
- It is important to wait for it to be completely cold for the layers to settle correctly.
- 9. Serve and decorate
- Cut into squares of 9 or 12 parts.
- Sprinkle with icing sugar before serving.
- Accompany with mounted cream or fresh strawberries if you wish.
Frequent questions
- 1. Can I make this cake without Thermomix?
- Yes, you can beat the whites with a hand blender and follow the same steps manually.
- 2. Can it be done with another type of milk?
- You can use vegetable milk, but the final texture could change.
- 3. How long is it preserved?
- It remains well in the fridge for 2-3 days, covered with transparent film.
Related posts:
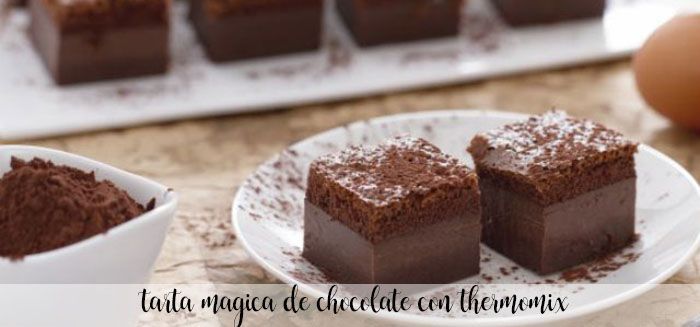
 Magic chocolate cake with Thermomix
 Magic chocolate cake with Thermomix
 Magic lemon cake with thermomix
 Nutella magic cake with Thermomix
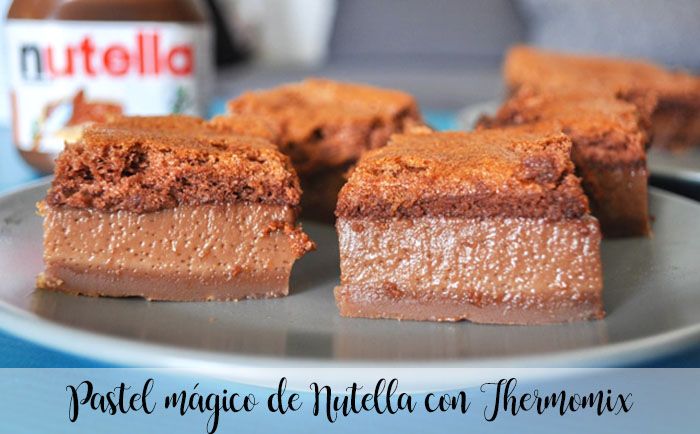 Nutella magic cake with Thermomix
 Magic lemon cake with thermomix
 Magic chocolate cake with Thermomix
 vanilla magic cake with Thermomix
 Custard sponge cake with thermomix
 Vanilla magic cupcake with Thermomix
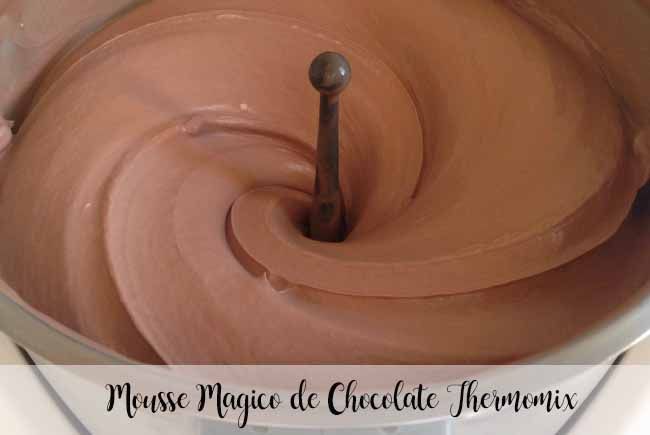 Magic Chocolate Mousse thermomix
 Magic cabbage soup with Thermomix
 Rice and lemon custard with thermomix
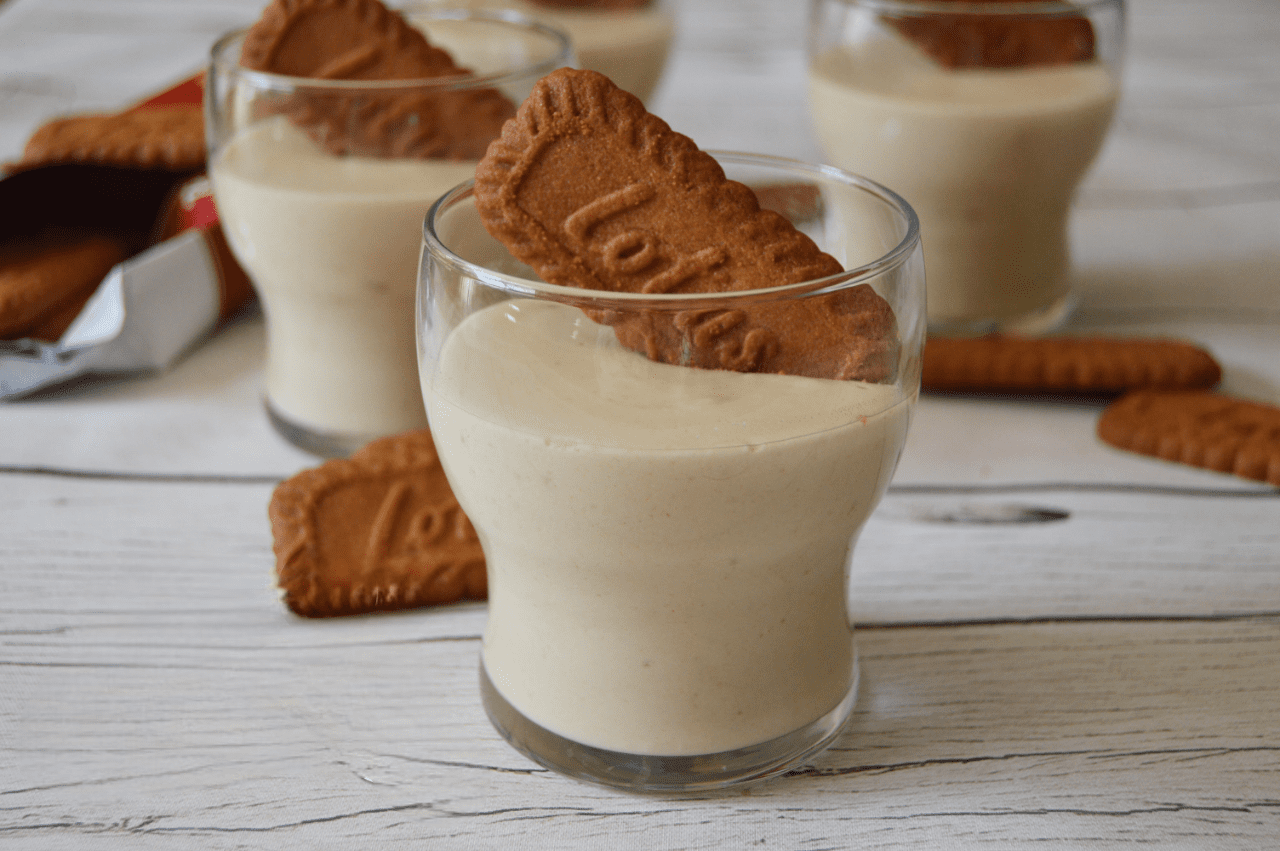 Lotus custard with Thermomix
 Semolina custard with Thermomix