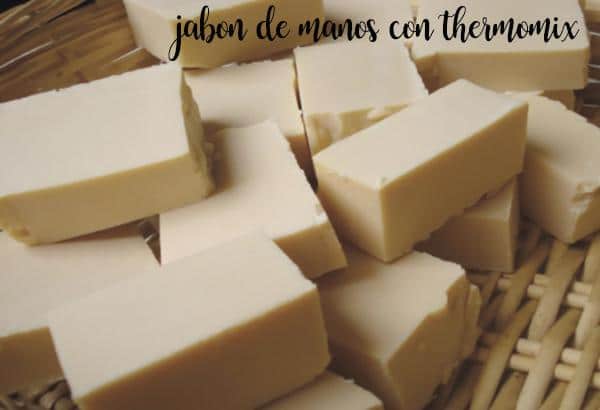
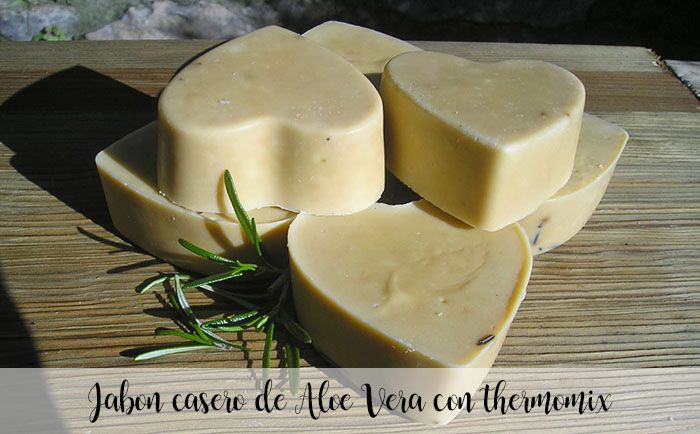
He face and hand soap It is an essential product in the daily personal hygiene routine. Although there are many commercial options, nothing compares to the satisfaction of creating your own homemade soap, using natural ingredients that take care of your skin and the environment.
Today we will teach you how to make face and hand soap with the help of your Thermomix, taking advantage of the benefits of Marseille soapbeeswax and essential oils.
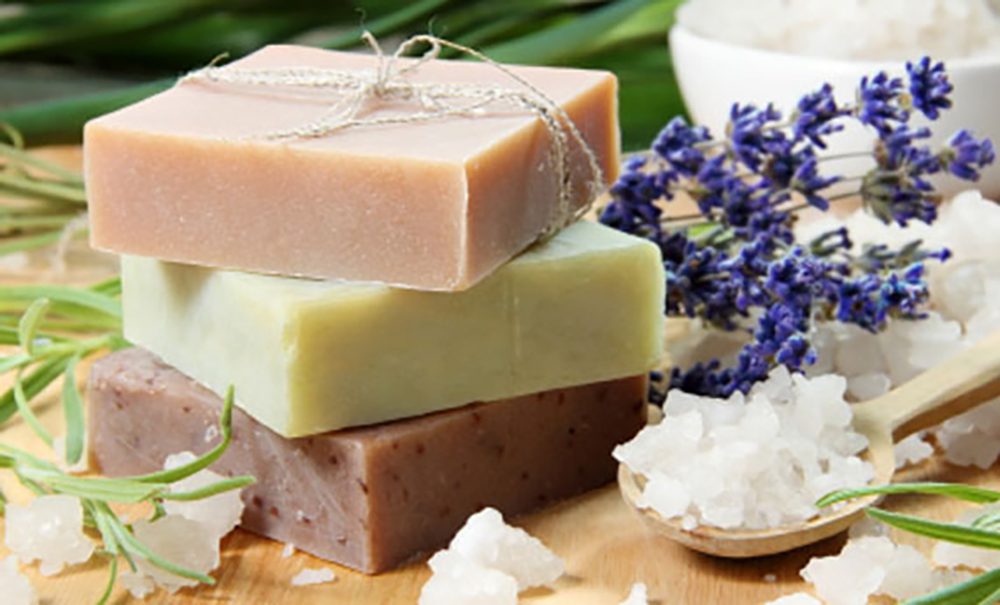
Face and Hand Soap with Thermomix: Easy and Natural Recipe
Why make your own face and hand soap with Thermomix?
Making your own soap is not only an economical option, but it allows you to control the ingredients you use, eliminating the harsh chemicals found in many commercial soaps. The use of the Thermomix It makes the process easier by effortlessly combining, mixing and heating ingredients to the right temperature.
The combination of Marseille soapa traditional soap made with vegetable oils, and the beeswaxprovides a soft texture and moisturizing power that you will not find in industrial soaps. Plus, you can customize the scent with your favorite essential oils, such as lemon essential oil, lavender, orangeeither rosemaryproviding not only a delicious aroma, but also therapeutic properties.
Face and Hand Soap with Thermomix: Easy and Natural Recipe
Cooking Time:
Total Time
Thermomix
Category:
Beauty with Thermomix
![]()
Ingredients for Face and Hand Soap with Thermomix: Easy and Natural Recipe
- To make this homemade face and hand soap you will need the following ingredients:
- 100 g of distilled water
- 40 g Marseille soap
- 100 g beeswax
- Essential oil to taste (you can choose between lemon, lavender, orange, rosemary or any other of your preference)
Preparation of Face and Hand Soap with Thermomix: Easy and Natural Recipe
1. Cleaning the Thermomix glass
- Before starting, it is crucial that your Thermomix glass is completely clean, as we do not want residue from previous preparations to ruin the aroma and consistency of our soap. You can clean it with the following mixture:
- 500 ml of water
- 100 ml of vinegar
- Place these ingredients in the Thermomix glass and program at speed 4 for 2 minutes at Varoma temperature. This mixture will thoroughly clean the glass, leaving it free of odors or food remains that could interfere with the process.
2. Preparation of the soap mixture
- With the glass already clean and dry, place the 40 g of Marseille soap and the 100 g of beeswax inside. Next, program the Thermomix at speed 10 for 10 seconds to mix these ingredients. This will ensure that both ingredients are crushed and combined correctly, achieving a homogeneous base.
3. Add essential oils and distilled water
- The next step is to add the essential oils you have chosen. You can add about 10 drops of lemon, lavender, orange or rosemary essential oil. These oils will provide their natural properties and a unique aroma to your homemade soap.
- Next, pour the 100 g of distilled water into the mixture. Program the Thermomix at 50°C for 5 minutes at speed 3 so that the ingredients combine perfectly.
4. Filter and mold the soap
- Once the mixture is well integrated, it is important to strain it through a fine sieve to remove any impurities or lumps that may remain. Then, pour the mixture into a mold greased with olive oil. If you have a plum cake mold, it is a great option as it will allow you to easily slice the soap once it is ready.
5. Let it rest and dry
- Let the mixture sit in the mold for 24 hours to harden. Once the soap is dry, remove it from the mold and cut it into the size pieces you prefer. If it is a little soft when you cut it, it will be easier to handle.
- After cutting, let the soap dry completely for several days, preferably on aluminum foil. This will allow the soap to harden further and be ready for use.
Benefits of using homemade soap for the skin
- Using this homemade face and hand soap has multiple benefits for your skin. Being made with natural ingredients, it is much gentler and less irritating than commercial soaps. Marseille soap is known to be gentle on sensitive skin, while beeswax provides a protective barrier that keeps moisture in the skin. The essential oils you choose also have additional benefits, such as the calming effect of lavender or the antibacterial properties of lemon.
- Plus, by making your own soap, you can be sure that it doesn’t contain parabens, sulfates, or other chemicals that can harm your skin in the long run.
Customizing your homemade soap
- One of the great advantages of making your own soap is the ability to customize it according to your preferences. You can experiment with different combinations of essential oils to create a unique scent or add ingredients like oats or dried flowers to gently exfoliate your skin while you wash. If you prefer a more moisturizing soap, you can also add a little coconut oil or shea butter to the mix.
Tips to preserve your homemade soap
- For your soap to last longer and maintain its properties, it is important to store it correctly. Once it is completely dry, store it in a cool, dry place, away from direct sunlight. It is also advisable to use a soap dish that allows the water to drain correctly, preventing the soap from remaining in contact with the water and dissolving more quickly.
- FAQs
- 1. How long does homemade soap last?
- Homemade soap can last several months if stored properly in a cool, dry place and using a soap dish that allows water to drain.
- 2. Can I use other essential oils instead of those mentioned?
- Clear! You can experiment with any essential oil you prefer, as long as it is safe for your skin.
- 3. Is it necessary to use beeswax in the recipe?
- Beeswax helps give consistency and moisturizing properties to the soap, but you can try other ingredients such as shea butter or coconut oil if you are looking for a vegan alternative.
