If you are a coffee lover and looking to replicate the experience of a gourmet coffee shop at home, prepare a delicious cappuccino foam with Thermomix It is the ideal solution.
This iconic Italian coffee, which combines espresso with a layer of hot milk and a smooth foam, is a favorite choice for many. And thanks to the Thermomixyou can enjoy a perfectly foamed, creamy and delicious cappuccino without leaving your kitchen.
In this article, we will teach you how to prepare the best cappuccino foam with Thermomix, in addition to giving you tips so that your experience is worthy of a professional coffee shop.
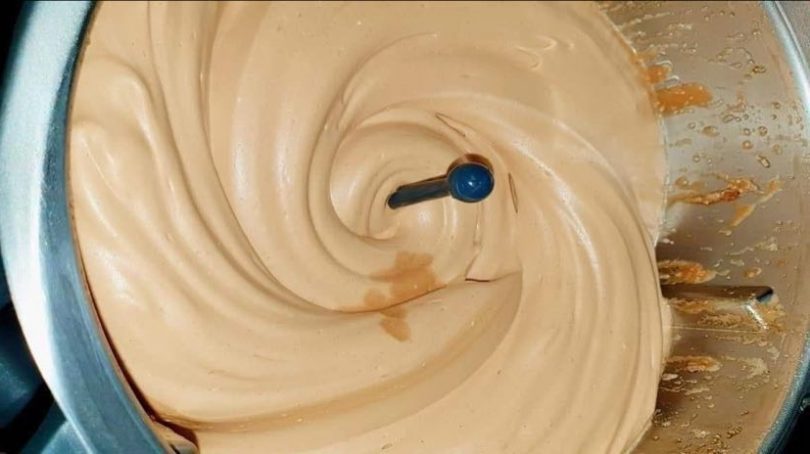
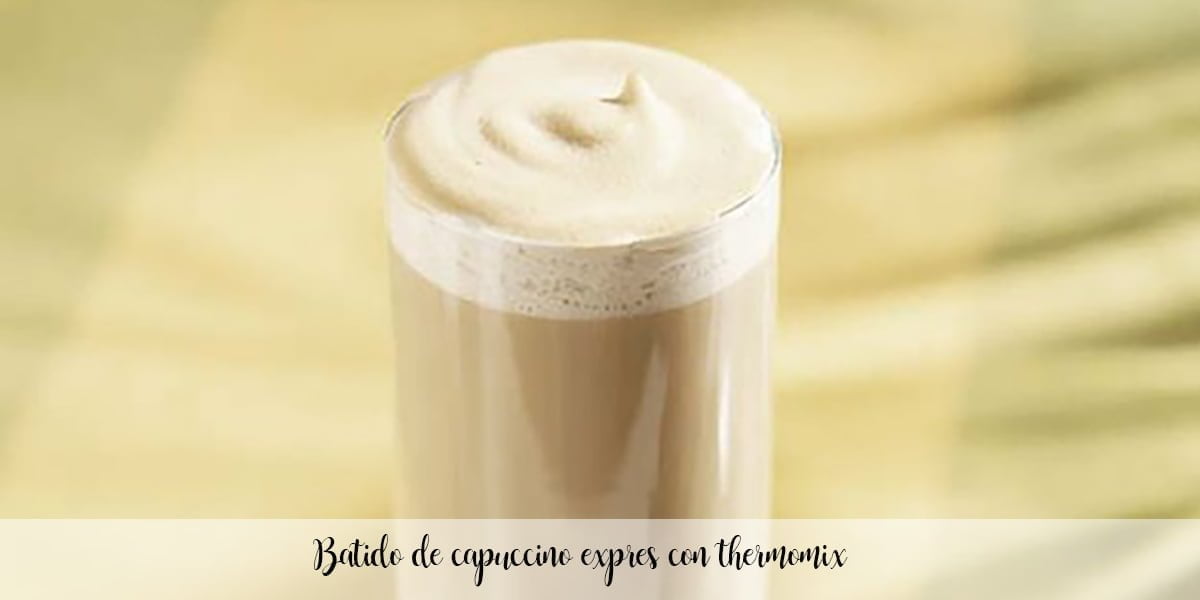
Cappuccino foam with Thermomix
People
6
Cooking Time:
5 minutes
Total Time
5 minutes
Kitchen
Thermomix
Thermomix
Category:
desserts with thermomix
Cappuccino Foam Ingredients with Thermomix
- 2 squares of chocolate
- 1 ½ teaspoon instant coffee (you can adjust the amount as you prefer, more or less intensity)
- 1 cup whole milk (about 250 ml)
- Sugar to taste (optional)
Preparation of Cappuccino Foam with Thermomix
- Heat the milk: Fill a cup with milk up to ¾ of its capacity and pour it into the Thermomix glass.
- Add the chocolate and coffee: Add the 2 chocolate squares and the instant coffee to the milk in the glass. If you prefer a sweeter cappuccino, you can add a teaspoon of sugar at this step.
- Install the beater: Install the beater in the Thermomix.
- Heat to the correct temperature: Set the Thermomix to 80°C for 4 minutes at speed 1. This step is crucial for the milk to reach the ideal temperature without burning.
- Froth the milk: Once the milk is heated, remove the whisk and program the Thermomix at speed 10 for 20 seconds. Ready! Now you have perfectly foamed milk and ready to enjoy.
Tips for a Perfect Cappuccino with Thermomix
- Although the recipe is simple, there are some tricks that will help you improve your cappuccino with Thermomix even more and obtain a coffee foam worthy of any barista:
- 1. Use whole milk
- Whole milk is the best choice for frothing, as it contains more fat, making it easier to create a creamier, longer-lasting foam. Although you can use skim or vegetable milk, the result may not be as fluffy.
- 2. Let the milk cool a little before frothing
- This trick is key to achieving a more stable foam. If you let the milk sit for a few seconds before frothing it, the fat will disperse better and the foam will be denser.
- 3. Customize with additional flavors
- If you’re a fan of different flavors, you can experiment by adding cinnamon, vanilla, or even a pinch of nutmeg to your cappuccino before heating it. The Thermomix will integrate the flavors perfectly with the milk.
- 4. Decorate with chocolate powder or cocoa
- For an elegant presentation, sprinkle your cappuccino foam with cocoa powder or chocolate shavings. This will not only make it more visually appetizing, but will also add a touch of extra flavor.
Cappuccino Variations to Try at Home
- One of the advantages of preparing your cappuccino with Thermomix is that you can customize it to your liking. Here are some ideas to vary your usual recipe:
- Vanilla Cappuccino
- Add a teaspoon of vanilla essence to the milk before heating it to give it an aromatic and sweet touch.
- Cappuccino with Cinnamon
- Sprinkle ground cinnamon both into the milk before frothing and over the final froth for a warm, comforting flavor.
- Cappuccino with Caramel Syrup
- Add a teaspoon of caramel syrup to the milk during heating for a sweet touch that will make your cappuccino irresistible.
Frequently Asked Questions
- 1. What type of milk is best for frothing with the Thermomix?
- Whole milk is the most recommended, since its higher fat content facilitates the creation of a creamier and longer-lasting foam.
- 2. Can I make cappuccino with vegetable milk in the Thermomix?
- Yes, you can use vegetable milks such as almond, soy or oat milk. However, keep in mind that the result may be different in terms of foam density.
- 3. How can I prevent milk from burning when heating?
- Make sure you do not exceed 80°C in the Thermomix when heating the milk, and always use a low speed to prevent the milk from sticking to the sides of the glass and burning.


